Email notifier
Another great use for IoT devices is displaying things like traffic information, weather forecast, social media updates ... This requires us to send an HTTP GET request to the server of the service we'd like to access. Most popular services have API (Application Programming Interface) documents that explain that explain how you can retrieve certain information, and what format that information is in. In the following example, we'll look at Gmail specifically, but the code should be similar for other services.
Showing the number of unread emails
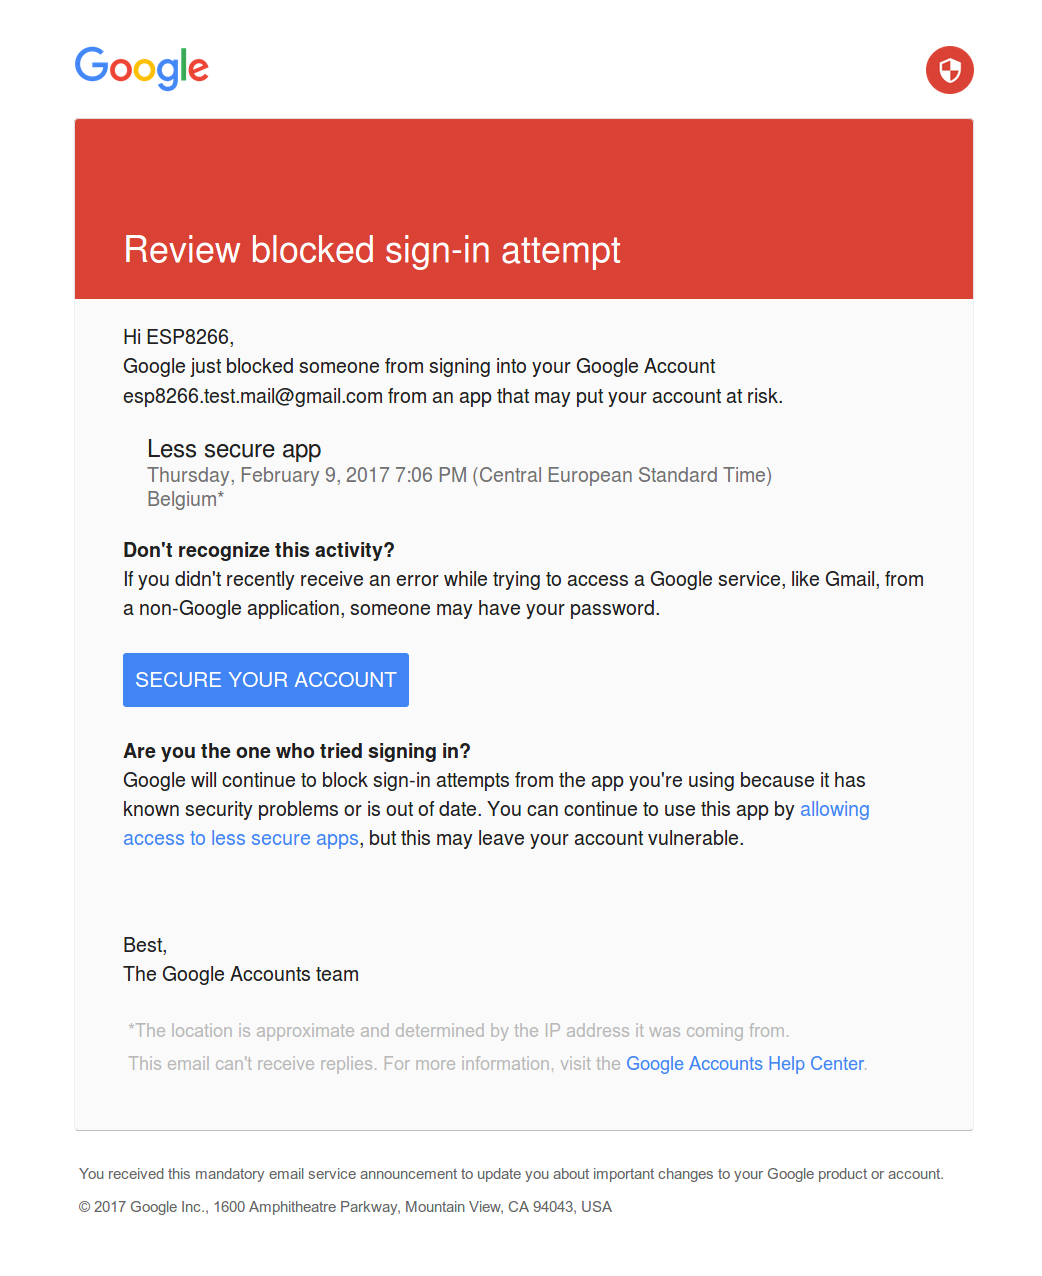
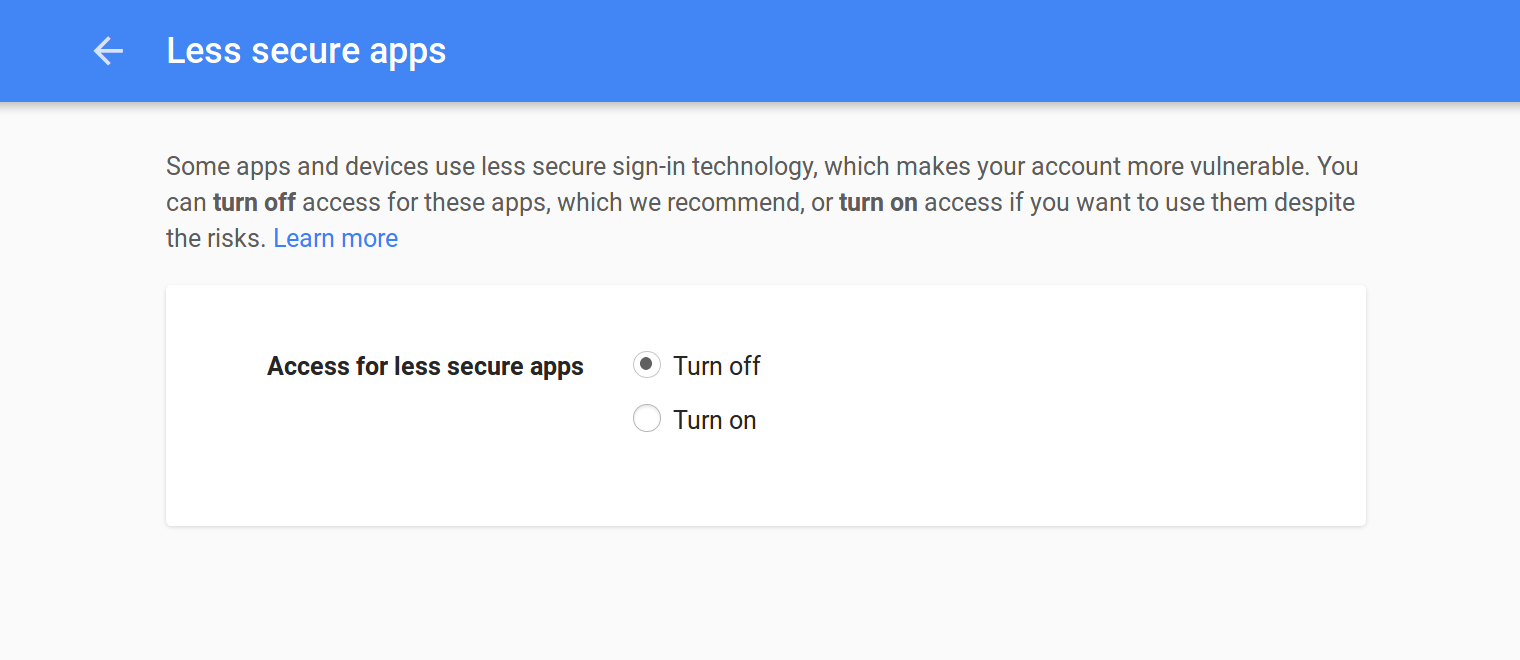
Allowing access to the email feed
Hardware
The Code
#include <WiFiClientSecure.h>   // Include the HTTPS library
#include <ESP8266WiFi.h>        // Include the Wi-Fi library
#include <ESP8266WiFiMulti.h>   // Include the Wi-Fi-Multi library

ESP8266WiFiMulti wifiMulti;     // Create an instance of the ESP8266WiFiMulti class, called 'wifiMulti'

const char* host = "mail.google.com"; // the Gmail server
const char* url = "/mail/feed/atom";  // the Gmail feed url
const int httpsPort = 443;            // the port to connect to the email server

                                      // The SHA-1 fingerprint of the SSL certificate for the Gmail server (see below)
const char* fingerprint = "D3 90 FC 82 07 E6 0D C2 CE F9 9D 79 7F EC F6 E6 3E CB 8B B3";

                                      // The Base64 encoded version of your Gmail login credentials (see below)
const char* credentials = "ZW1haWwuYWRkcmVzc0BnbWFpbC5jb206cGFzc3dvcmQ=";

const byte led = 13;

void setup() {
  Serial.begin(115200);         // Start the Serial communication to send messages to the computer
  delay(10);
  Serial.println('\n');

  pinMode(led, OUTPUT);

  wifiMulti.addAP("ssid_from_AP_1", "your_password_for_AP_1");   // add Wi-Fi networks you want to connect to
  wifiMulti.addAP("ssid_from_AP_2", "your_password_for_AP_2");
  wifiMulti.addAP("ssid_from_AP_3", "your_password_for_AP_3");

  Serial.println("Connecting ...");
  int i = 0;
  while (wifiMulti.run() != WL_CONNECTED) { // Wait for the Wi-Fi to connect: scan for Wi-Fi networks, and connect to the strongest of the networks above
    delay(250);
    Serial.print('.');
  }
  Serial.println('\n');
  Serial.print("Connected to ");
  Serial.println(WiFi.SSID());              // Tell us what network we're connected to
  Serial.print("IP address:\t");
  Serial.println(WiFi.localIP());           // Send the IP address of the ESP8266 to the computer
  Serial.println('\n');
}

void loop() {
  int unread = getUnread();
  if (unread == 0) {
    Serial.println("\r\nYou've got no unread emails");
    digitalWrite(led, LOW);
  } else if (unread > 0) {
    Serial.printf("\r\nYou've got %d new messages\r\n", unread);
    digitalWrite(led, HIGH);
  } else {
    Serial.println("Could not get unread mails");
  }
  Serial.println('\n');
  delay(5000);
}

int getUnread() {    // a function to get the number of unread emails in your Gmail inbox
  WiFiClientSecure client; // Use WiFiClientSecure class to create TLS (HTTPS) connection
  Serial.printf("Connecting to %s:%d ... \r\n", host, httpsPort);
  if (!client.connect(host, httpsPort)) {   // Connect to the Gmail server, on port 443
    Serial.println("Connection failed");    // If the connection fails, stop and return
    return -1;
  }

  if (client.verify(fingerprint, host)) {   // Check the SHA-1 fingerprint of the SSL certificate
    Serial.println("Certificate matches");
  } else {                                  // if it doesn't match, it's not safe to continue
    Serial.println("Certificate doesn't match");
    return -1;
  }

  Serial.print("Requesting URL: ");
  Serial.println(url);

  client.print(String("GET ") + url + " HTTP/1.1\r\n" +
               "Host: " + host + "\r\n" +
               "Authorization: Basic " + credentials + "\r\n" +
               "User-Agent: ESP8266\r\n" +
               "Connection: close\r\n\r\n"); // Send the HTTP request headers

  Serial.println("Request sent");

  int unread = -1;

  while (client.connected()) {                          // Wait for the response. The response is in XML format
    client.readStringUntil('<');                        // read until the first XML tag
    String tagname = client.readStringUntil('>');       // read until the end of this tag to get the tag name
    if (tagname == "fullcount") {                       // if the tag is <fullcount>, the next string will be the number of unread emails
      String unreadStr = client.readStringUntil('<');   // read until the closing tag (</fullcount>)
      unread = unreadStr.toInt();                       // convert from String to int
      break;                                            // stop reading
    }                                                   // if the tag is not <fullcount>, repeat and read the next tag
  }
  Serial.println("Connection closed");

  return unread;                                        // Return the number of unread emails
}
How it works
The setup should be pretty familiar by now.
The only new thing is the getUnread() function:
First, it starts an HTTPS connection to the Gmail server on port 443. Then it checks if the fingerprint of the certificate matches, so it knows that it's the real Google server, and not some hacker. If the certificate doesn't match, it's not safe to send the credentials to the server.
If it matches, we send a HTTP GET request to the server:
GET /mail/feed/atom HTTP/1.1\r\n
Host: mail.google.com\r\n
Authorization: Basic aVeryLongStringOfBase64EncodedCharacters=\r\n
User-Agent: ESP8266\r\n
Connection: close\r\n\r\n<?xml version="1.0" encoding="UTF-8"?>
<feed xmlns="http://purl.org/atom/ns#" version="0.3">
<title>Gmail - Inbox for esp8266.test.mail@gmail.com</title>
<tagline>New messages in your Gmail Inbox</tagline>
<fullcount>5</fullcount>
<link rel="alternate" href="https://mail.google.com/mail" type="text/html" />
<modified>2017-03-05T15:54:06Z</modified>
<entry>
<title>New sign-in from Firefox on Linux</title>
<summary>New sign-in from Firefox on Linux Hi ESP8266, Your Google Account esp8266.test.mail@gmail.com was just used to sign in from Firefox on Linux. ESP8266 Test esp8266.test.mail@gmail.com Linux Sunday,</summary>
<link rel="alternate" href="https://mail.google.com/mail?account_id=esp8266.test.mail@gmail.com&message_id=123456789&view=conv&extsrc=atom" type="text/html" />
<modified>2017-03-05T15:52:45Z</modified>
<issued>2017-03-05T15:52:45Z</issued>
<id>tag:gmail.google.com,2004:123456789123456789</id>
<author>
<name>Google</name>
<email>no-reply@accounts.google.com</email>
</author>
</entry>
...
</feed>
The loop just prints the number of unread emails, and turns on an LED if you have unread messages.
Getting the fingerprint of the Gmail server
openssl s_client -connect mail.google.com:443 < /dev/null 2>/dev/null | openssl x509 -fingerprint -noout -in /dev/stdin | sed 's/:/ /g'const char* fingerprint = "D3 90 FC 82 07 E6 0D C2 CE F9 9D 79 7F EC F6 E6 3E CB 8B B3";Encoding your login credentials
echo -n "email.address@gmail.com:password" | base64const char* credentials = "ZW1haWwuYWRkcmVzc0BnbWFpbC5jb206cGFzc3dvcmQ=";