Building the C++ example project
Pieter PDownloading the example project
The example is just a command line program that asks the user for his/her
name using Boost.program_options
and prints a hello world message.
Download it from GitHub:
mkdir -p ~/GitHubcd ~/GitHubgit clone https://github.com/tttapa/RPi-Cross-Cpp-Development.gitcd RPi-Cross-Cpp-Development
Customize the paths
Edit the CMake toolchain file to point to the correct root filesystem path
(the value of the CMAKE_SYSROOT variable):
sed -i 's/schroot-name/rpizero-buster/' cmake/armv6-rpi-linux-gnueabihf.cmake
You might want to change the toolchain prefix or the architecture-specific flags
as well.
If you're using a 64-bit toolchain, edit the
aarch64-rpi3-linux-gnu.cmake file instead.
Installing the dependencies
Thanks to the sbuild development tools, managing dependencies is
really easy, you can just install them to the Raspberry Pi OS root filesystem
using the familiar apt-get install command.
We use the sbuild-apt tool,
and specify the name of the root filesystem we created on the previous page.
sudo sbuild-apt rpizero-buster-armhf apt-get install libboost-all-dev
Now Boost is installed on our build computer, but not yet on the Raspberry Pi itself.
Let's do that now, using the standard apt install command over SSH:
ssh RPi0 sudo apt install -y libboost-all-devStrictly speaking, we don't need all development libraries on the Pi, so to save some time and space, you could install just the libraries you need, e.g.
ssh RPi0 sudo apt install -y libboost-program-options1.67.0Configuring and building the project
Open the ~/GitHub/RPi-Cross-Cpp-Development folder in Visual Studio Code
(using the Ctrl+K+O shortcut or “Open Folder”).
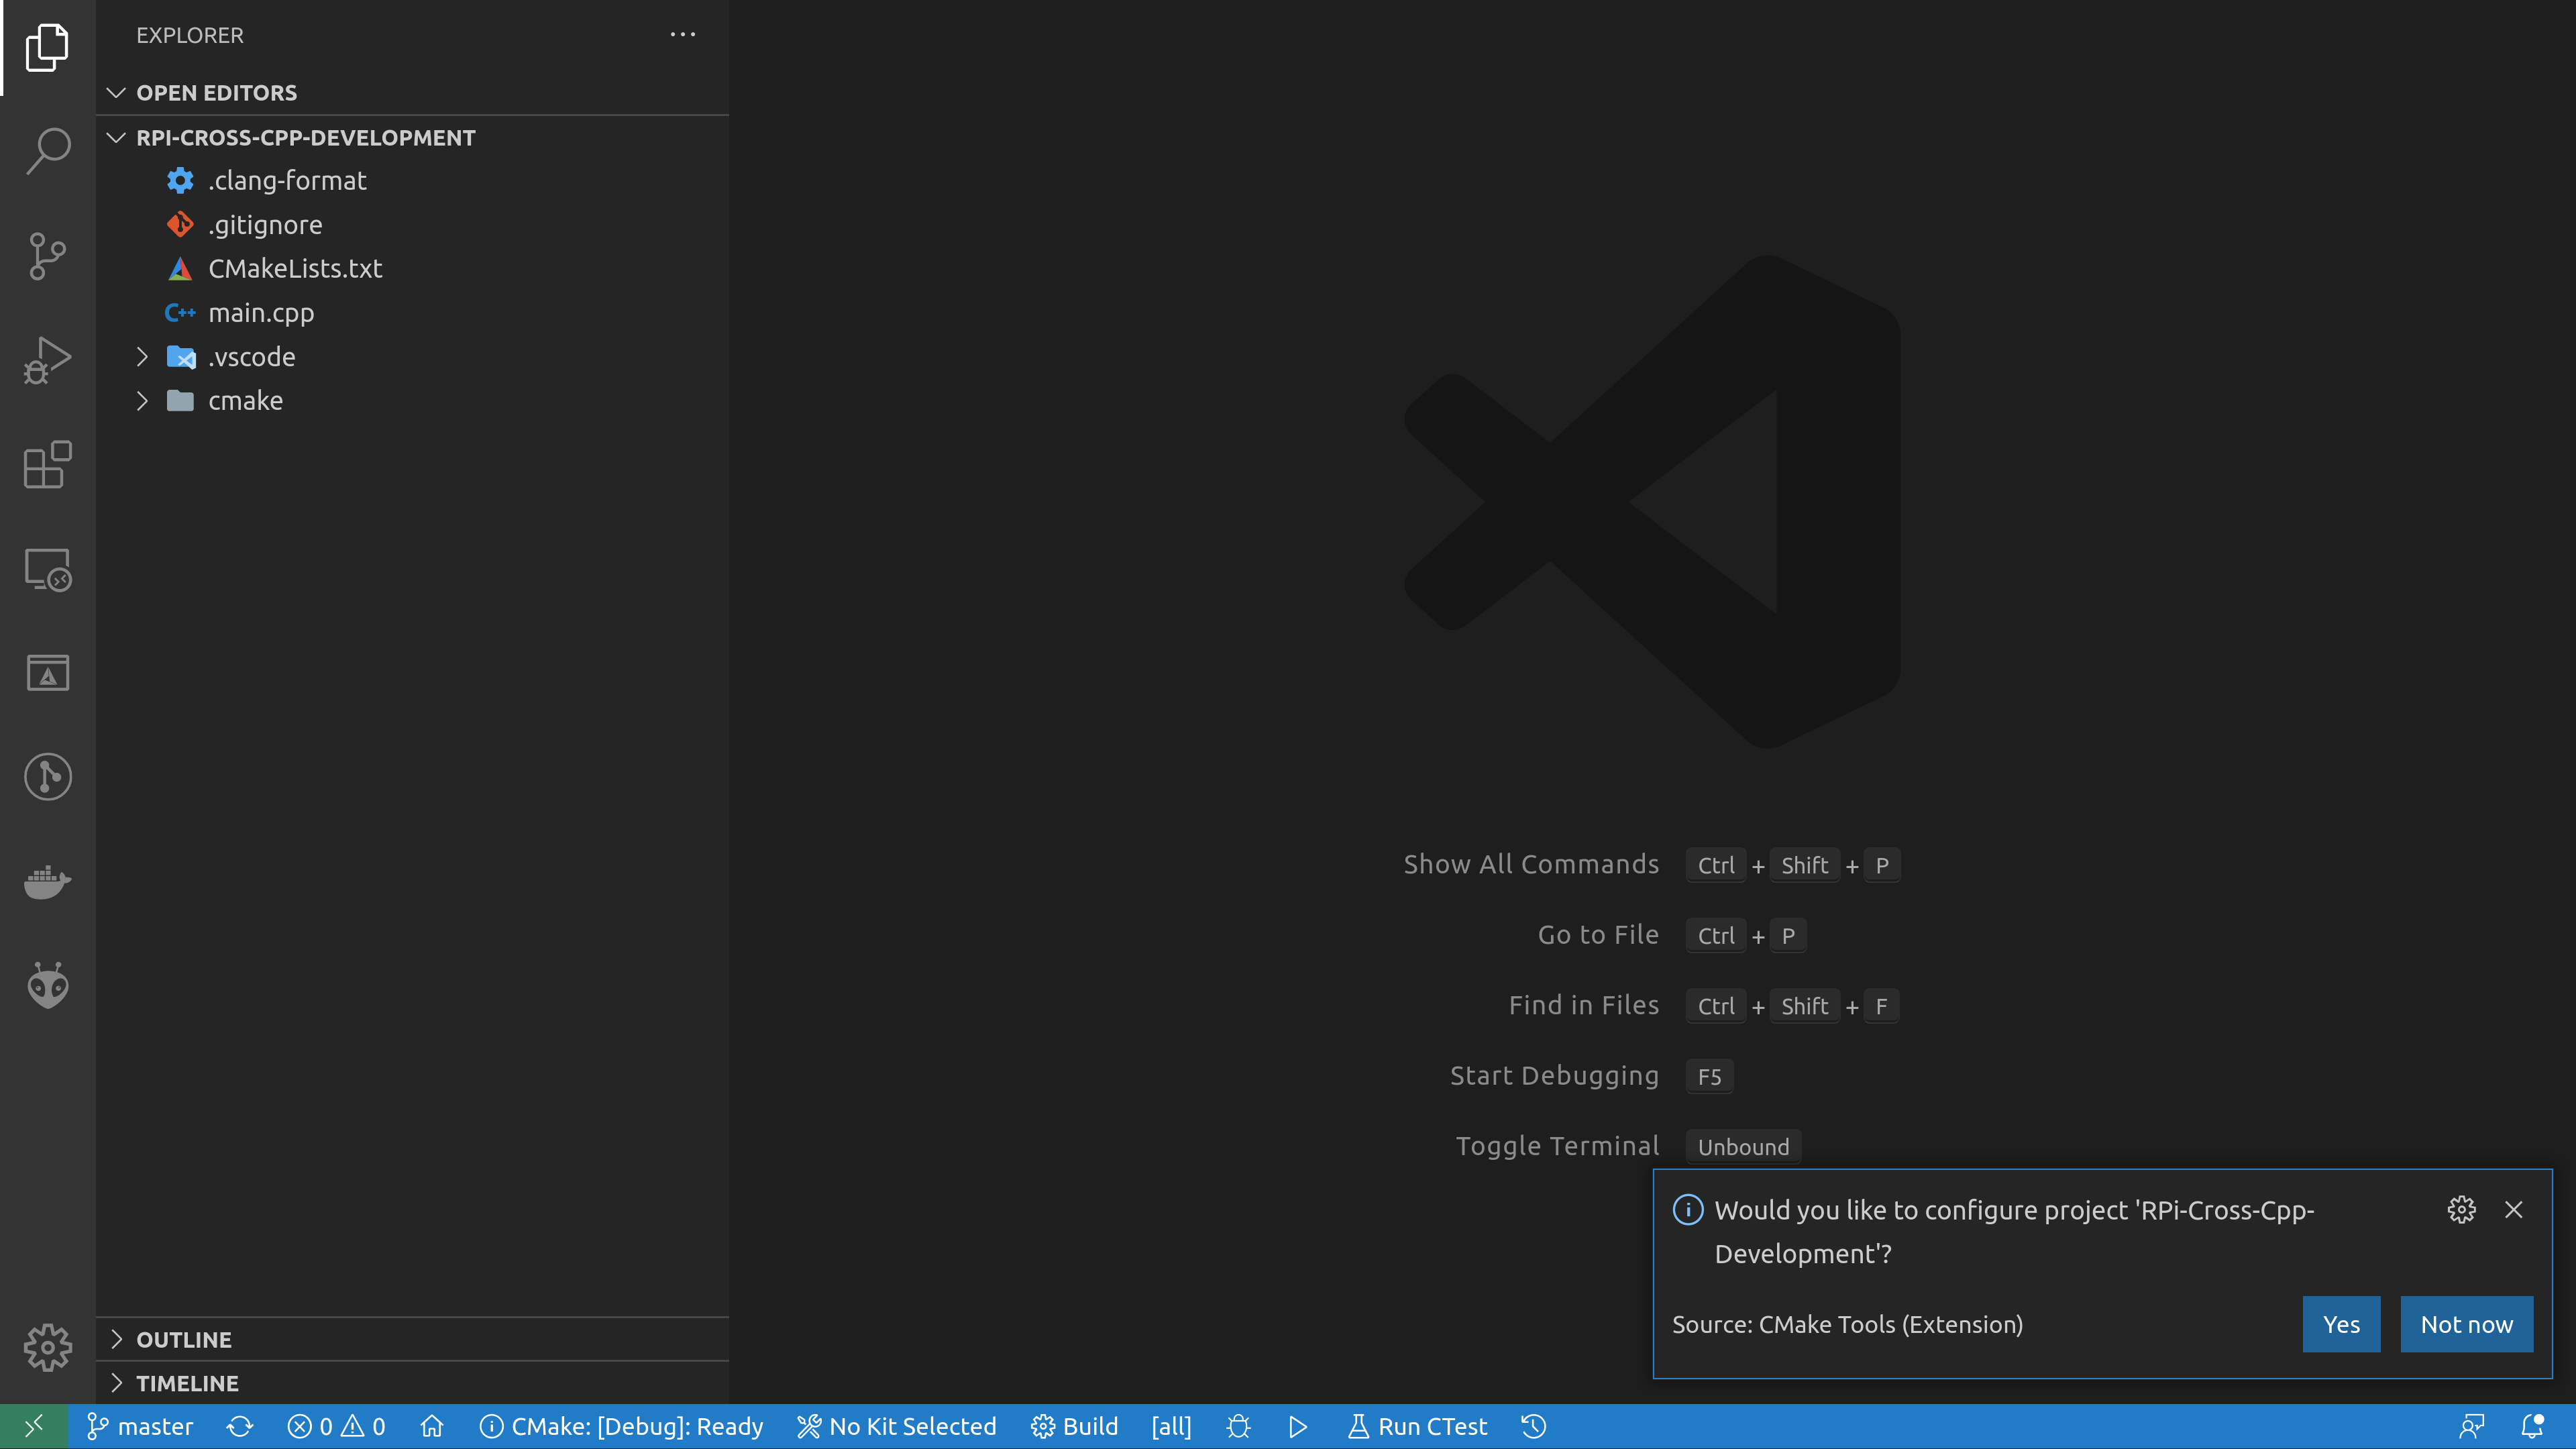
armv6-rpi-linux-gnueabihf toolchain
we installed, as well as the Boost libraries in the Raspberry Pi OS root filesystem.
If CMake raises an error, see the Troubleshooting section below.
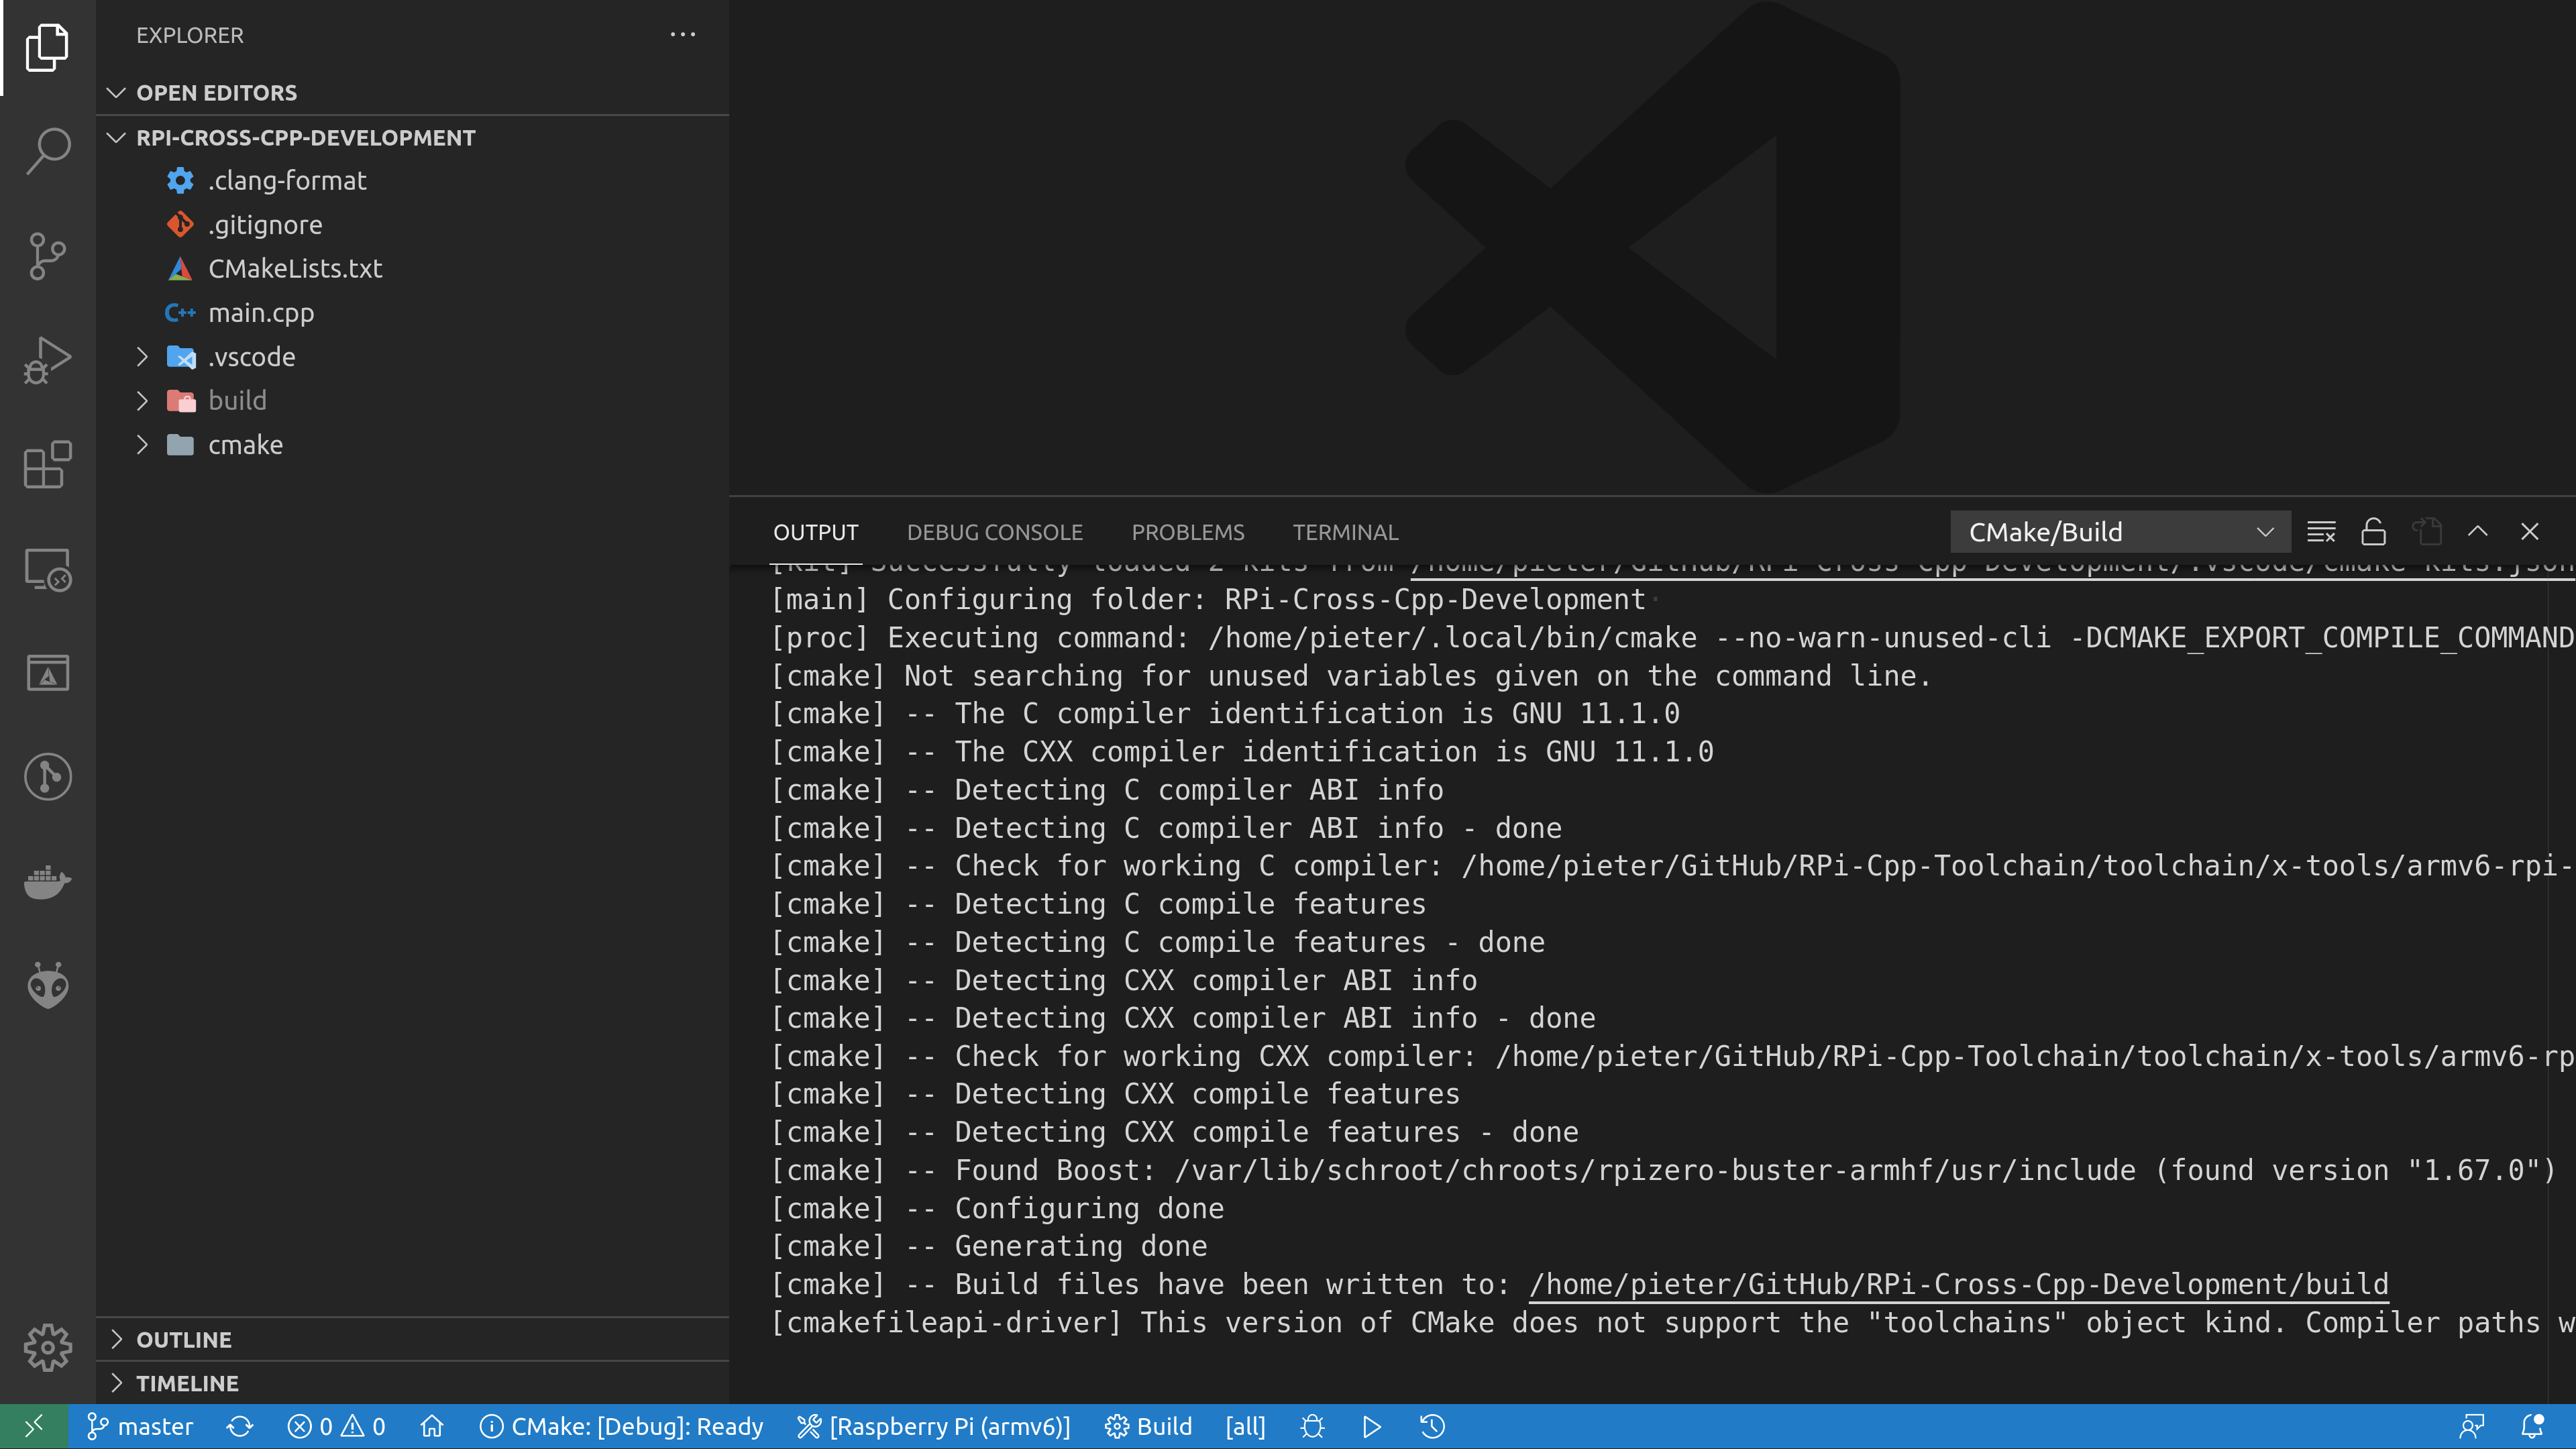
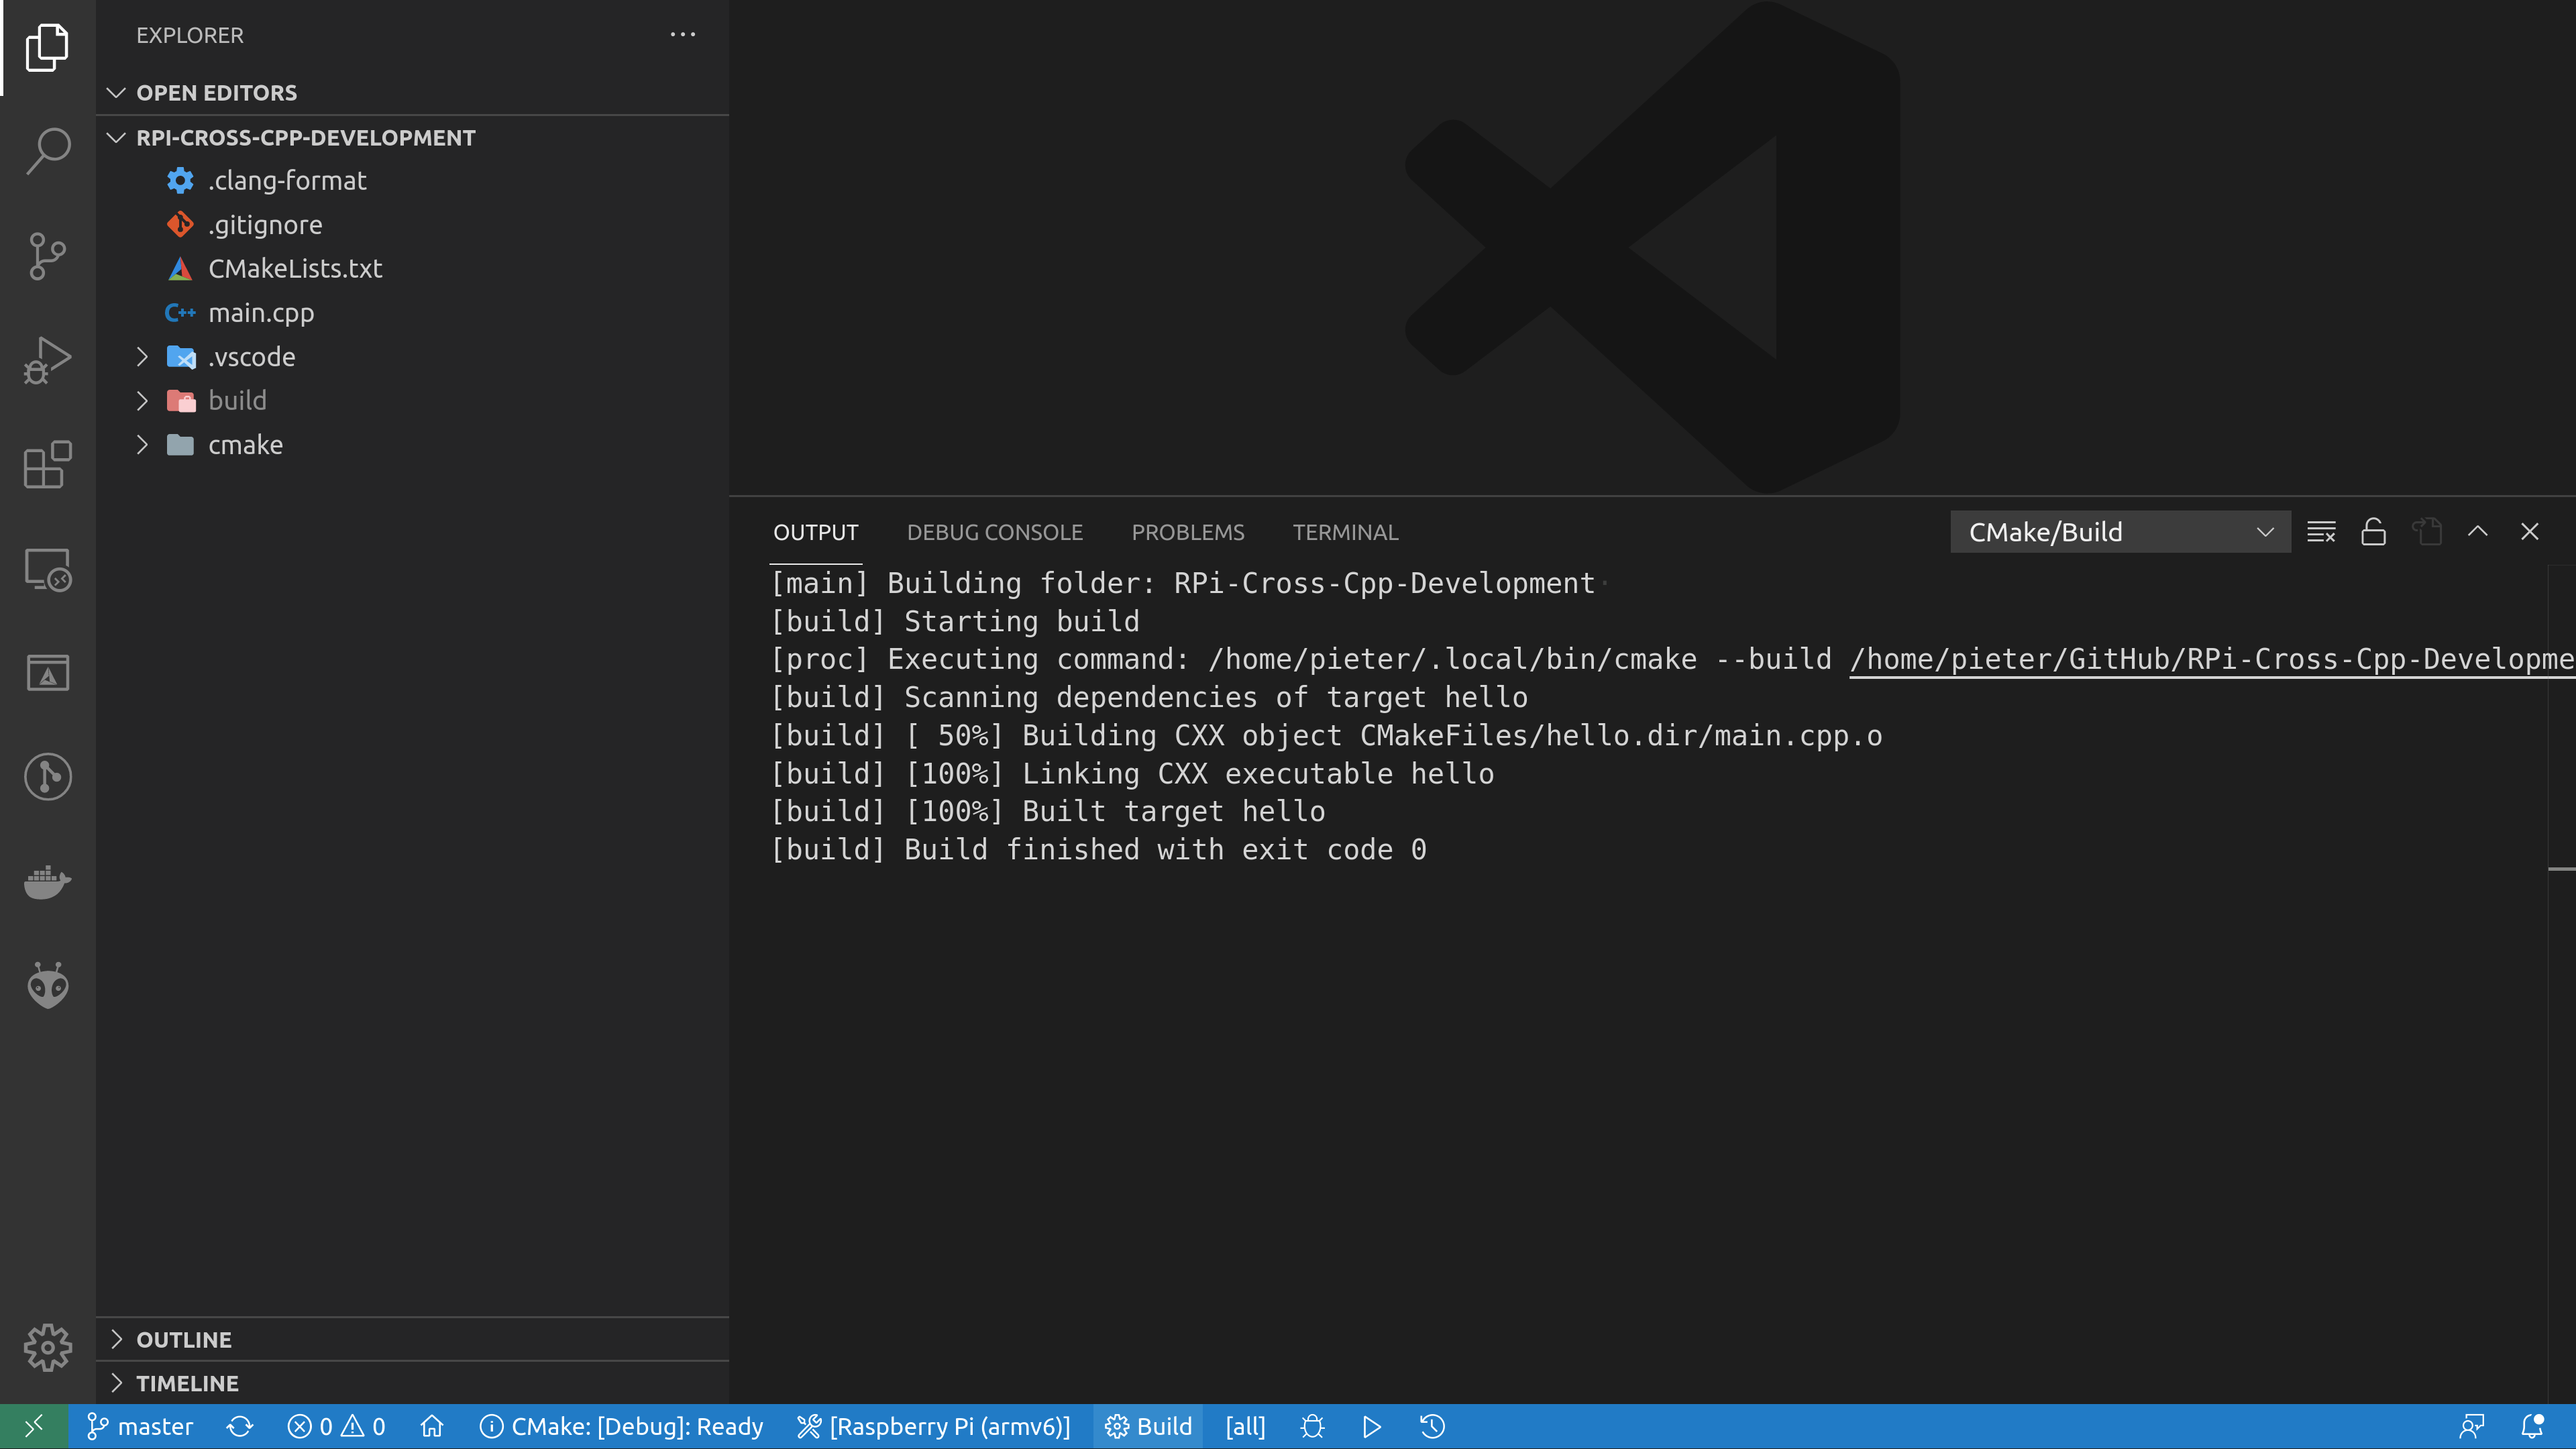
You can verify that everything worked correctly using the file
command:
file build/hello
build/hello: ELF 32-bit LSB executable, ARM, EABI5 version 1 (SYSV), dynamically linked, interpreter /lib/ld-linux-armhf.so.3, for GNU/Linux 3.2.0, with debug_info, not stripped
As you can see, hello is a 32-bit ARM executable, so the cross-compilation was successful.
Running the example program on the Raspberry Pi
All we have to do now is copy the hello file to the Raspberry Pi and run it.
We'll copy it over SSH using the scp command, and then run it over SSH as well:
scp build/hello RPi0:~ssh RPi0 '~/hello' --help
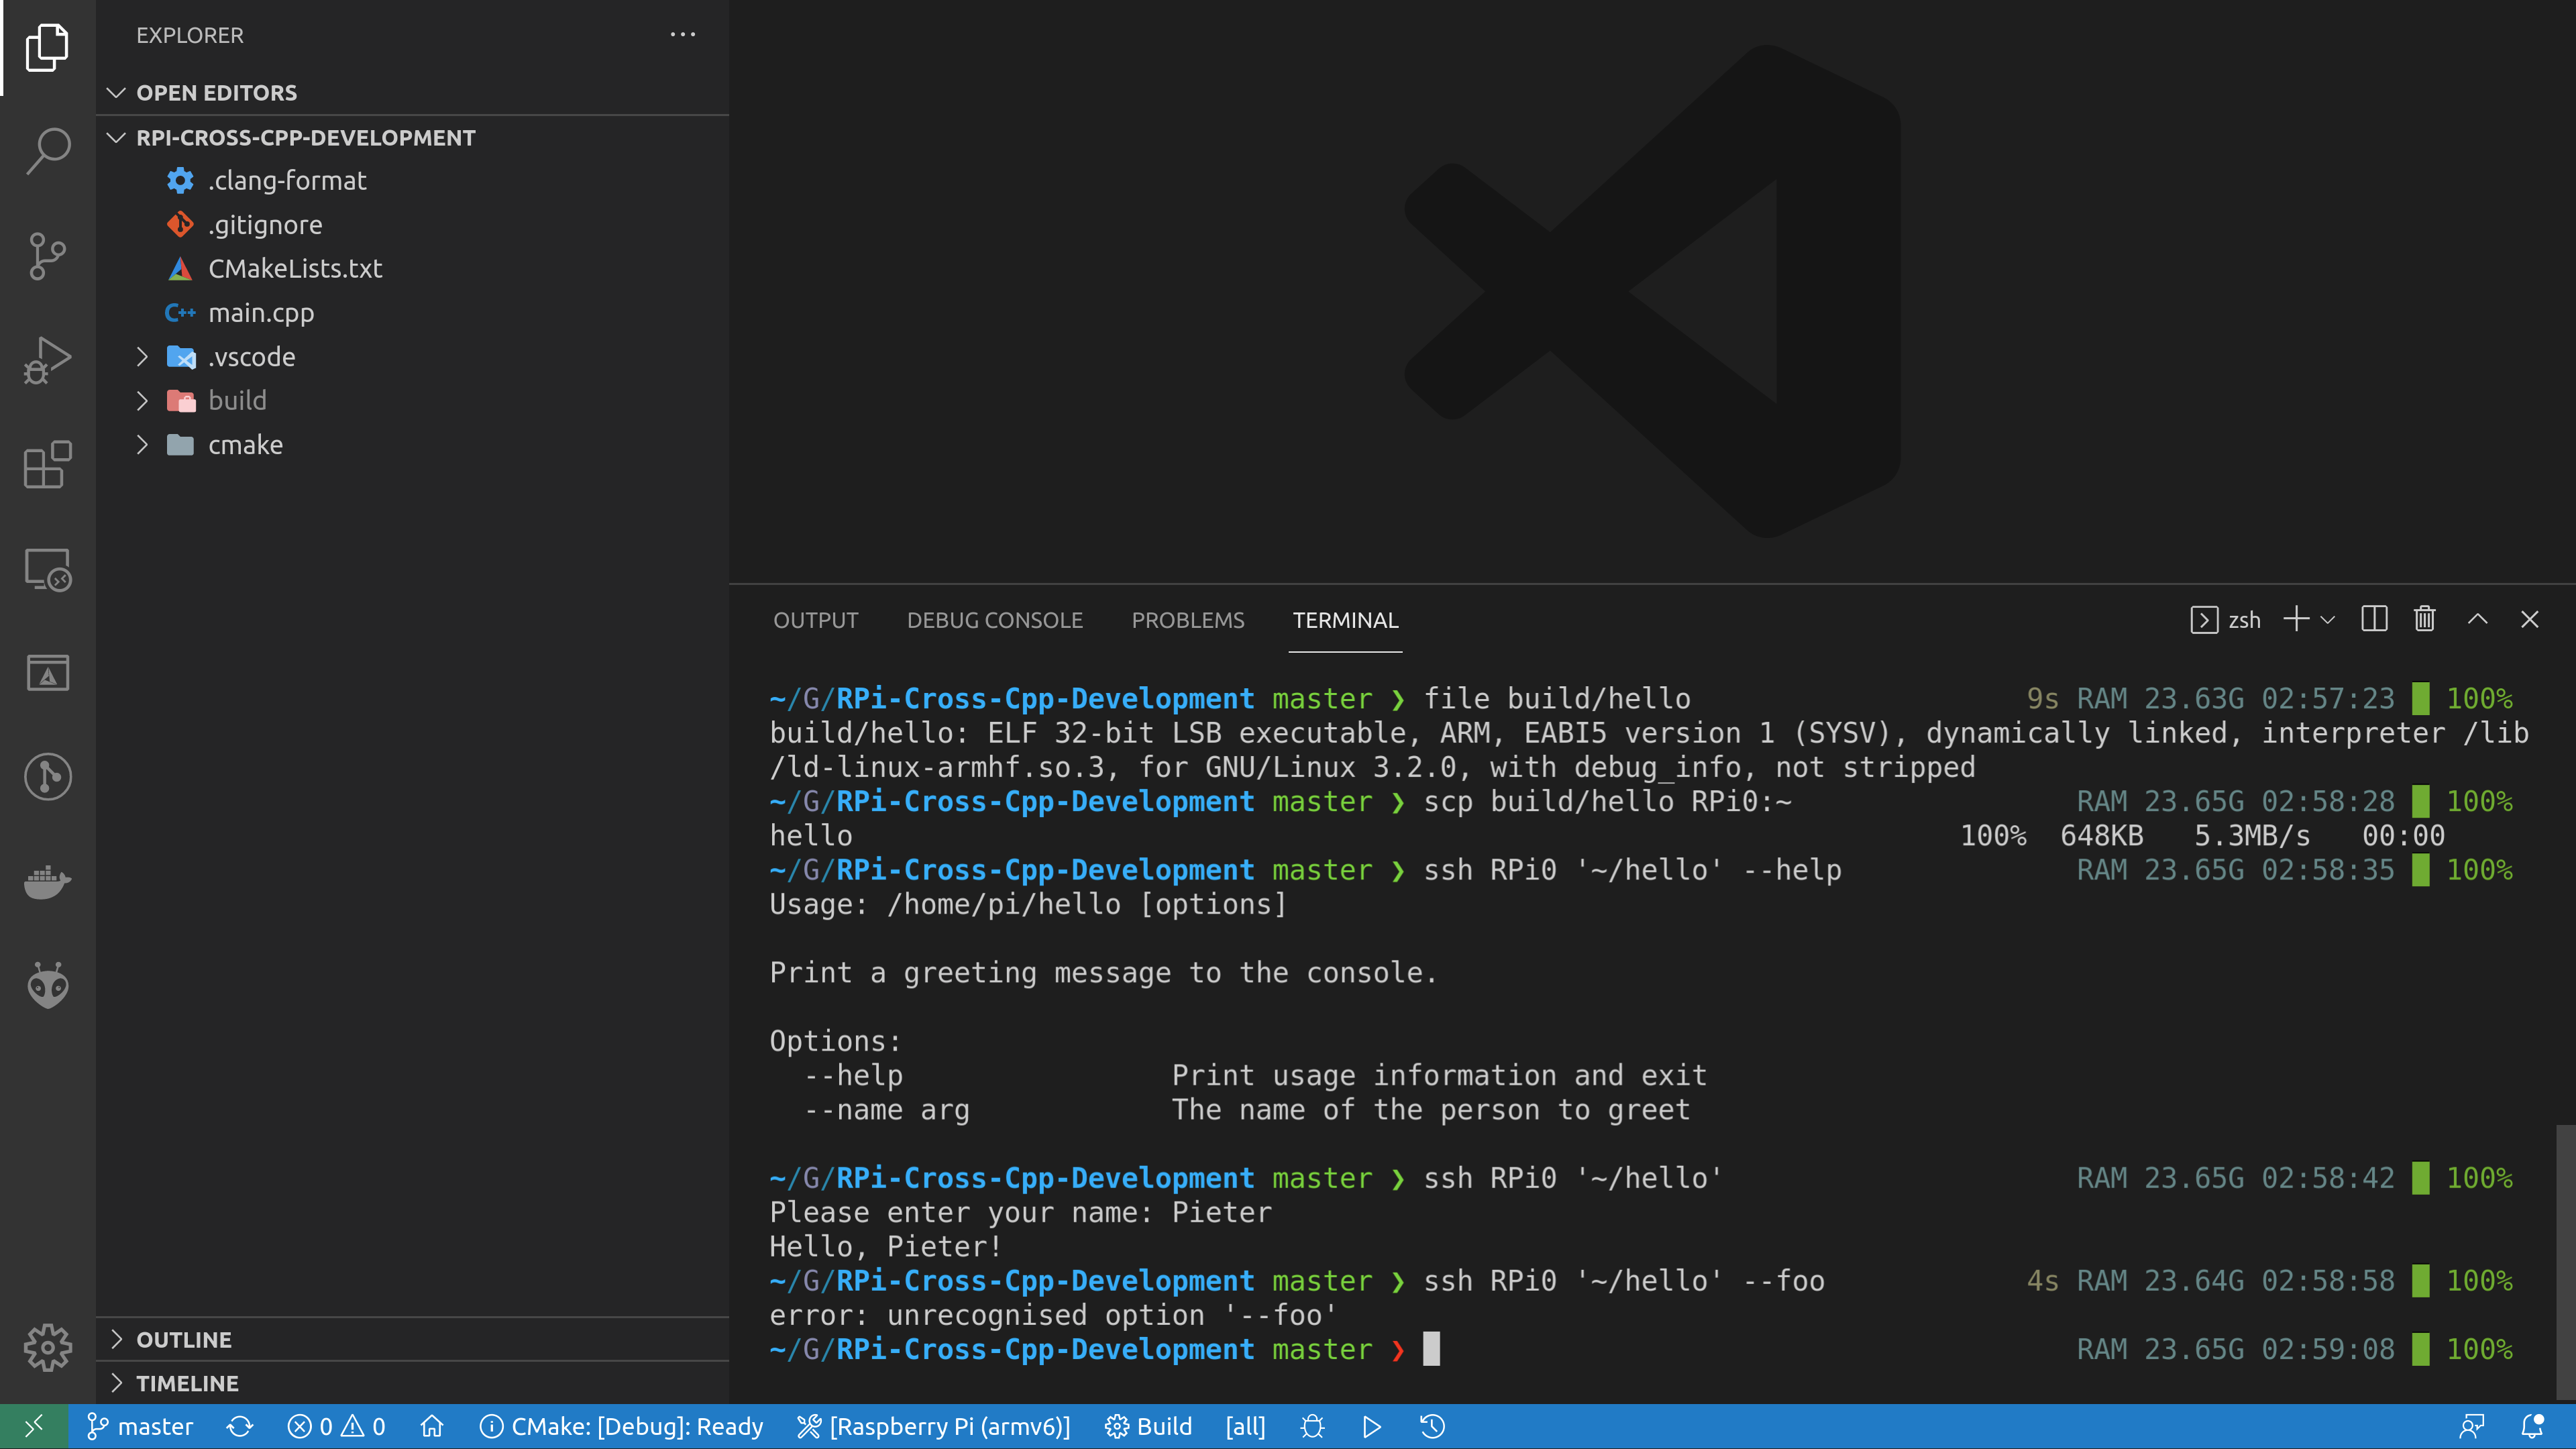
That's it, you have successfully executed your cross-compiled C++ program on the Raspberry Pi!
Using a staging directory
For larger projects, you usually don't want to have to dig around in the
build directory to gather all the files you need to copy to the
Raspberry Pi. Instead, you'll use cmake --install to let
CMake install all the necessary files into a so-called staging directory on
your computer, which you can then copy to the Pi.
After building the project as explained in the previous section, press
Ctrl+Shift+P in VSCode and execute the CMake: Install
command. You can then find the hello program in the bin
subdirectory of
~/RPi-dev/staging-armv6-rpi.
You'll usually compress the staging folder using tar and then
deploy it to the Pi by extracting it to the ~/.local or
/usr/local folder.
A closer look at the build process
There's only one source file, main.cpp, and we'll focus on the
build process, so we won't go into the code in detail here.
The main CMakeLists.txt file is really basic:
it just defines the project, looks for the Boost.program_options library,
compiles main.cpp into an executable with the name hello,
and then links this executable with the Boost library. Finally, an install
rule is added to install the hello program to the bin
folder of the staging directory.
CMakeLists.txt

cmake_minimum_required(VERSION 3.16)project(hello VERSION 0.1.0 LANGUAGES C CXX Fortran)find_package(Boost REQUIRED COMPONENTS program_options)add_executable(hello main.cpp)target_link_libraries(hello PRIVATE Boost::program_options)include(GNUInstallDirs)install(TARGETS helloRUNTIME DESTINATION ${CMAKE_INSTALL_BINDIR})
The way we tell CMake to cross-compile this project for the Raspberry Pi is using a so-called toolchain file. You can find more information on https://cmake.org/cmake/help/latest/manual/cmake-toolchains.7.html#cross-compiling.
cmake/armv6-rpi-linux-gnueabihf.cmake
# https://cmake.org/cmake/help/book/mastering-cmake/chapter/Cross%20Compiling%20With%20CMake.html# Cross-compilation system informationset(CMAKE_SYSTEM_NAME Linux)set(CMAKE_SYSTEM_PROCESSOR arm)# The sysroot contains all the libraries we might need to link against and# possibly headers we need for compilationset(CMAKE_SYSROOT /var/lib/schroot/chroots/rpizero-buster-armhf)set(CMAKE_FIND_ROOT_PATH ${CMAKE_SYSROOT})set(CMAKE_LIBRARY_ARCHITECTURE arm-linux-gnueabihf)set(CMAKE_STAGING_PREFIX $ENV{HOME}/RPi-dev/staging-armv6-rpi)# Set the compilers for C, C++ and Fortranset(RPI_GCC_TRIPLE "armv6-rpi-linux-gnueabihf")set(CMAKE_C_COMPILER ${RPI_GCC_TRIPLE}-gcc CACHE FILEPATH "C compiler")set(CMAKE_CXX_COMPILER ${RPI_GCC_TRIPLE}-g++ CACHE FILEPATH "C++ compiler")set(CMAKE_Fortran_COMPILER ${RPI_GCC_TRIPLE}-gfortran CACHE FILEPATH "Fortran compiler")# Set the architecture-specific compiler flagsset(ARCH_FLAGS "-mcpu=arm1176jzf-s")set(CMAKE_C_FLAGS_INIT ${ARCH_FLAGS})set(CMAKE_CXX_FLAGS_INIT ${ARCH_FLAGS})set(CMAKE_Fortran_FLAGS_INIT ${ARCH_FLAGS})# Don't look for programs in the sysroot (these are ARM programs, they won't run# on the build machine)set(CMAKE_FIND_ROOT_PATH_MODE_PROGRAM NEVER)# Only look for libraries, headers and packages in the sysroot, don't look on# the build machineset(CMAKE_FIND_ROOT_PATH_MODE_LIBRARY ONLY)set(CMAKE_FIND_ROOT_PATH_MODE_INCLUDE ONLY)set(CMAKE_FIND_ROOT_PATH_MODE_PACKAGE ONLY)set(CPACK_DEBIAN_PACKAGE_ARCHITECTURE armhf)
First we set the system name and architecture, then we set some paths to
the sysroot, so that CMake will be able to find the Boost library.
If you gave your chroot a different name, you have to change these
paths.
The CMAKE_STAGING_PREFIX variable is useful for installing your
project to a “staging” directory for deploying to the Pi.
The CMAKE_LIBRARY_ARCHITECTURE variable
helps CMake find libraries in Debian's Multiarch directory structure,
e.g. in /usr/lib/arm-linux-gnueabihf/.
Next, we tell CMake to use the armv6-rpi-linux-gnueabihf
cross-compilers, and we set some compiler flags. The -mcpu flag
is a bit redundant here, since the toolchain is already configured to
generate code for that specific CPU, but it serves as an example, you might
want to add more specific flags.
Finally, we tell CMake never to run any programs it finds in the sysroot (because they are ARM binaries, you cannot run them on your computer without extra steps), and it should only look for libraries, headers and packages in the sysroot. We don't want CMake to find and use packages installed on our computer, because these are x86_64 libraries, not ARM.
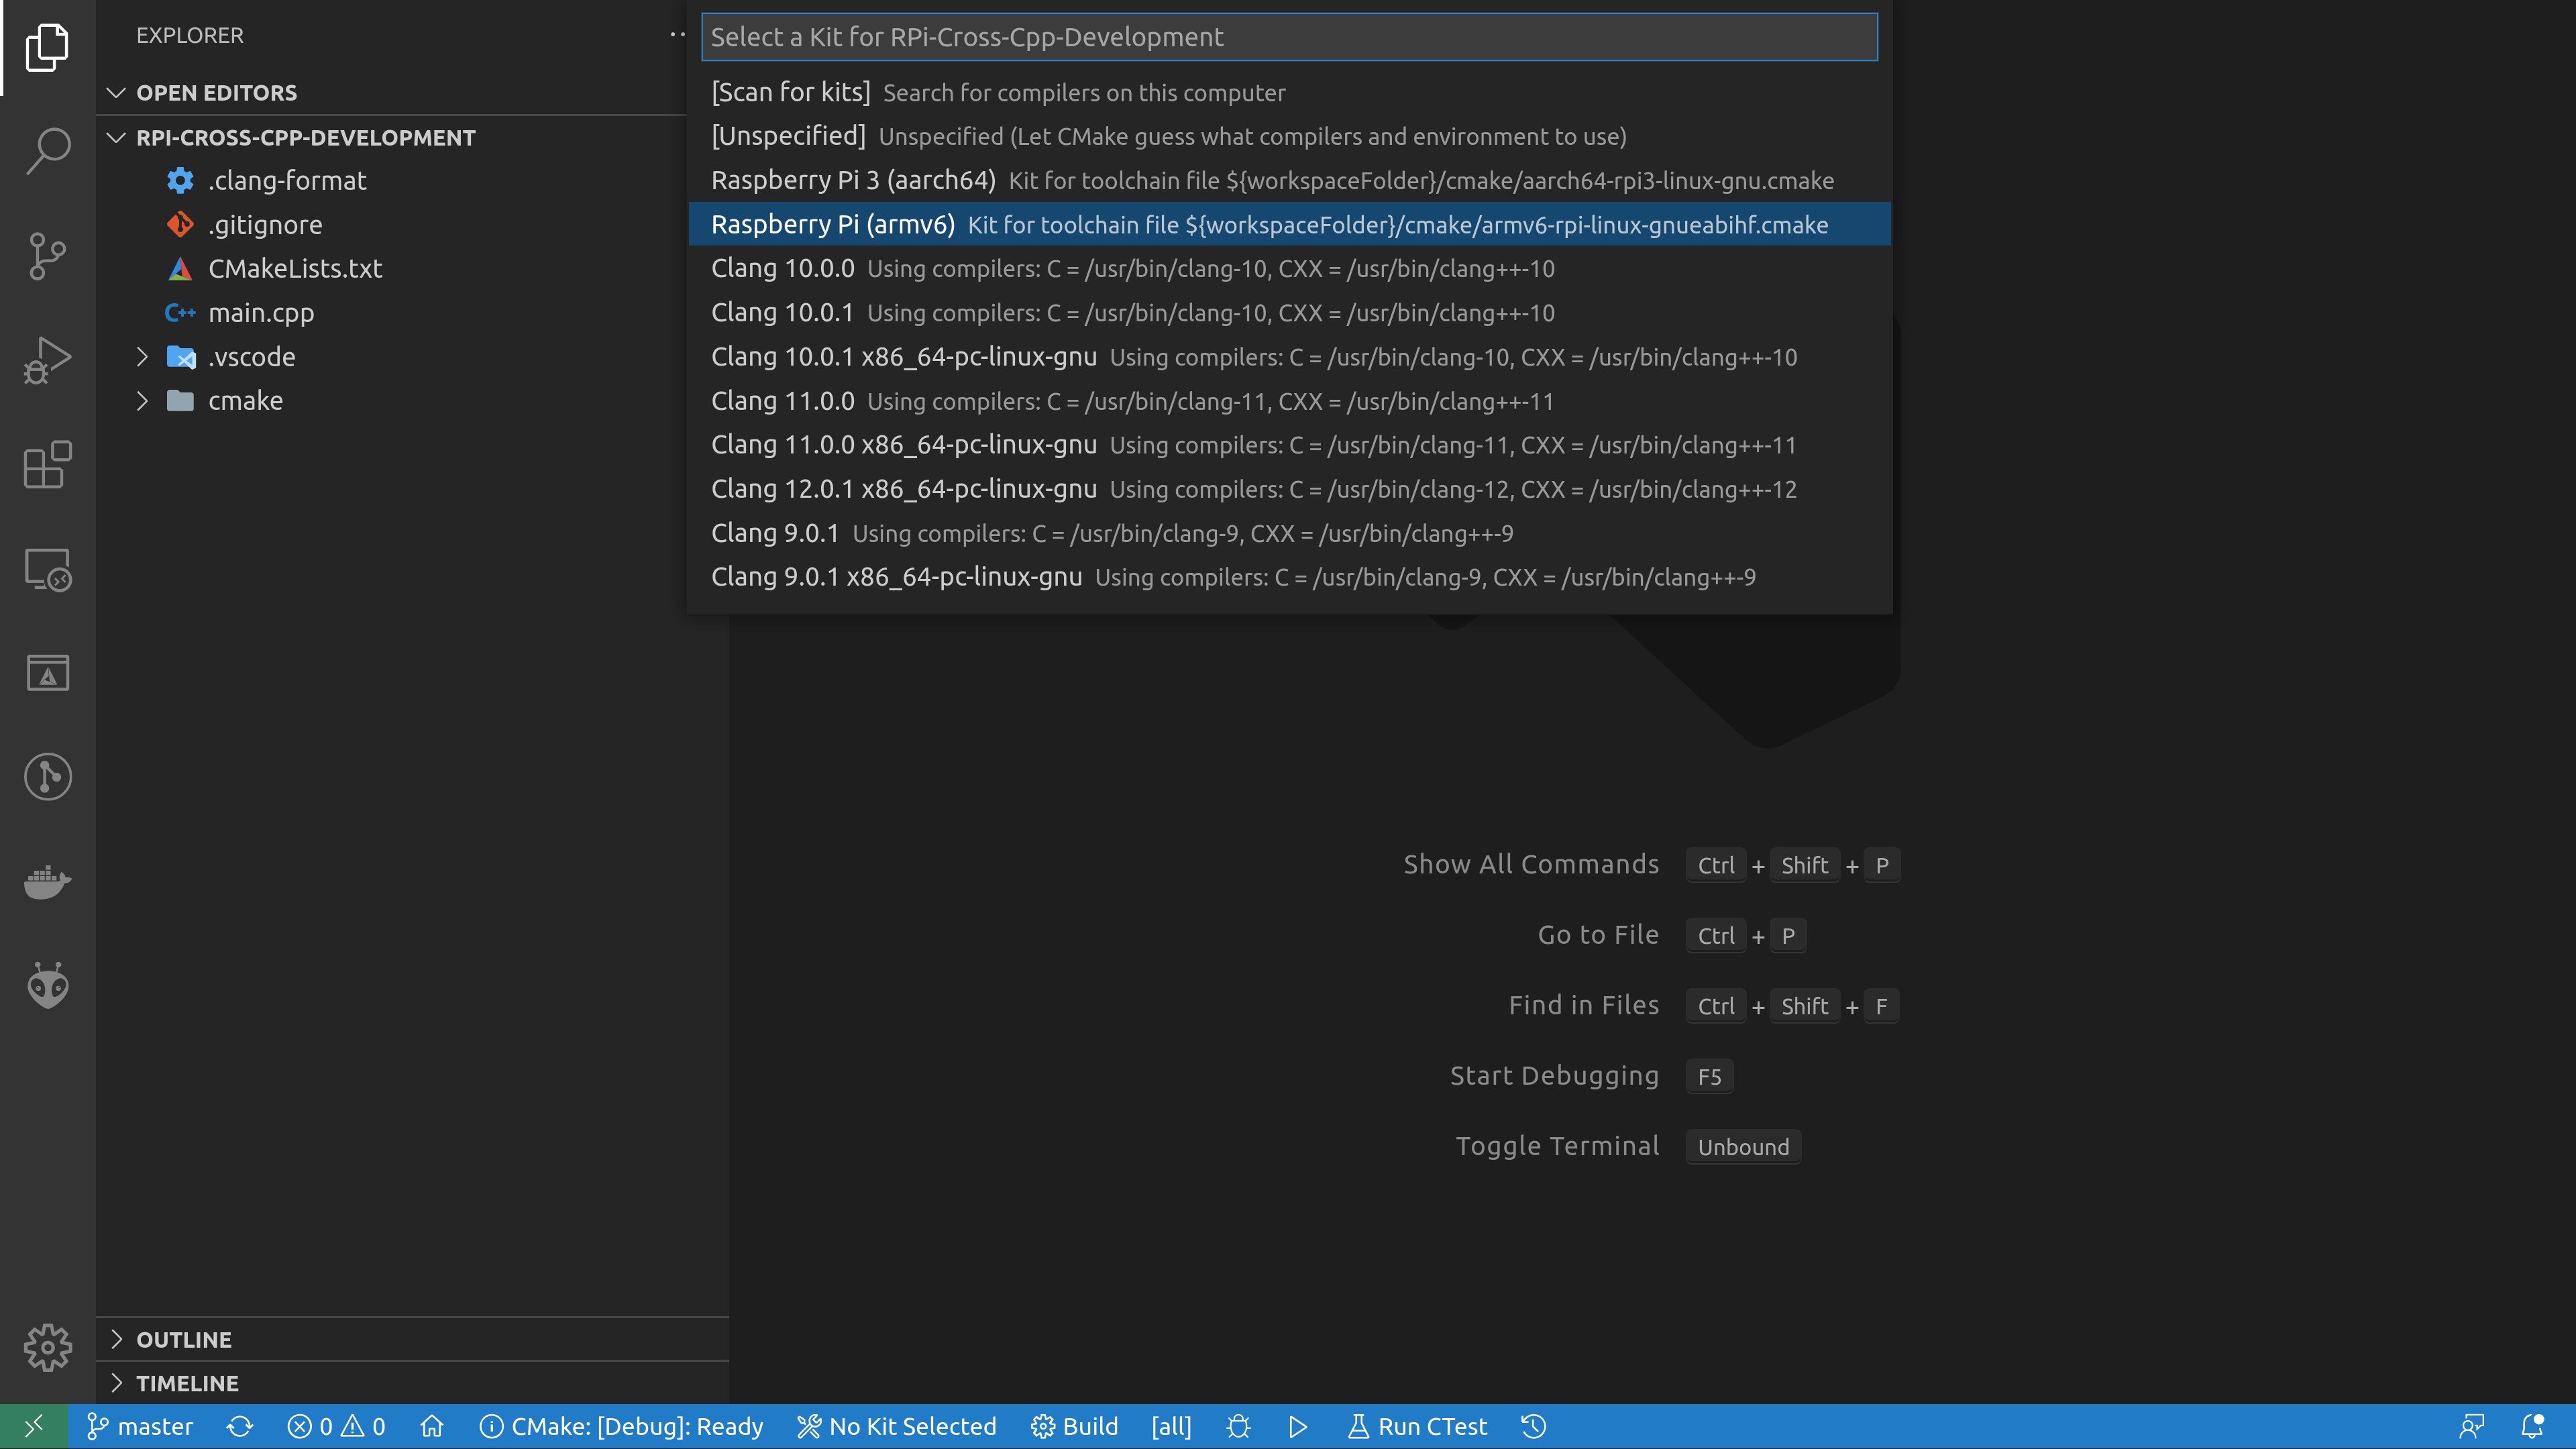
The CMake Tools VSCode extension picks up these toolchain files using the following configuration file:
.vscode/cmake-kits.json
[{"name": "Raspberry Pi 3 (aarch64)","toolchainFile": "${workspaceFolder}/cmake/aarch64-rpi3-linux-gnu.cmake"},{"name": "Raspberry Pi 3 Clang (aarch64)","toolchainFile": "${workspaceFolder}/cmake/aarch64-rpi3-linux-gnu-clang.cmake"},{"name": "Raspberry Pi (armv6)","toolchainFile": "${workspaceFolder}/cmake/armv6-rpi-linux-gnueabihf.cmake","environmentVariables": {"PATH": "${env:HOME}/opt/x-tools/armv6-rpi-linux-gnueabihf/bin:${env:PATH}"}}]
You can see that there's a second toolchain file for newer 64-bit boards. If you need different configurations for different Pi models, you can add them here and easily switch between them by clicking the CMake Kit button in VSCode.
Manual build
If you don't want to use VSCode as your editor, you can also build the project from the command line:
cd ~/GitHub/RPi-Cross-Cpp-Developmentrm -rf buildcmake -S . -B build -DCMAKE_TOOLCHAIN_FILE=cmake/armv6-rpi-linux-gnueabihf.cmakecmake --build build -jcmake --install build
Troubleshooting
This section covers some common problems that you might run into. After
fixing them, you can re-run CMake by pressing Ctrl+Shift+P
in VSCode and executing the CMake: Delete Cache and Reconfigure
command.
Compiler not found
The CMAKE_C_COMPILER:armv6-rpi-linux-gnueabihf-gccis not a full path and was not found in the PATH.
This indicates that you either didn't download and install the toolchain correctly, or that it has not been added to the PATH. See the previous page for more details.
Note that changing the
PATH in ~/.profile only has effect after logging out and back
in again.
If you used export PATH="..." in a terminal, this only affects
the current terminal, so unless you start VSCode from that terminal, it
won't see the updated PATH.
Compiler is not able to compile a simple test program
-- Check for working C compiler: ~/opt/x-tools/armv6-rpi-linux-gnueabihf/bin/armv6-rpi-linux-gnueabihf-gcc - brokenCMake Error at ~/.local/share/cmake-3.22/Modules/CMakeTestCCompiler.cmake:69 (message):The C compiler"~/opt/x-tools/armv6-rpi-linux-gnueabihf/bin/armv6-rpi-linux-gnueabihf-gcc"is not able to compile a simple test program.It fails with the following output:Change Dir: ~/GitHub/RPi-Cross-Cpp-Development/build/CMakeFiles/CMakeTmpRun Build Command(s):/usr/bin/ninja cmTC_f7b02 && [1/2] Building C object CMakeFiles/cmTC_f7b02.dir/testCCompiler.c.o[2/2] Linking C executable cmTC_f7b02FAILED: cmTC_f7b02: && ~/opt/x-tools/armv6-rpi-linux-gnueabihf/bin/armv6-rpi-linux-gnueabihf-gcc --sysroot=/var/lib/schroot/chroots/wrong-name-armhf -mcpu=arm1176jzf-s -mcpu=arm1176jzf-s CMakeFiles/cmTC_f7b02.dir/testCCompiler.c.o -o cmTC_f7b02 && :~/opt/x-tools/armv6-rpi-linux-gnueabihf/bin/../lib/gcc/armv6-rpi-linux-gnueabihf/11.2.0/../../../../armv6-rpi-linux-gnueabihf/bin/ld.bfd: cannot find crt1.o: No such file or directory~/opt/x-tools/armv6-rpi-linux-gnueabihf/bin/../lib/gcc/armv6-rpi-linux-gnueabihf/11.2.0/../../../../armv6-rpi-linux-gnueabihf/bin/ld.bfd: cannot find crti.o: No such file or directorycollect2: error: ld returned 1 exit status
This error indicates that the path to the root filesystem is not correct.
Make sure that the CMAKE_SYSROOT variable is set to the correct
schroot you created on the previous
page,
double check the name (with the architecture as suffix), and check that the
folder exists.
Boost not found
CMake Error at ~/.local/share/cmake-3.22/Modules/FindPackageHandleStandardArgs.cmake:230 (message):Could NOT find Boost (missing: Boost_INCLUDE_DIR program_options)Call Stack (most recent call first):~/.local/share/cmake-3.22/Modules/FindPackageHandleStandardArgs.cmake:594 (_FPHSA_FAILURE_MESSAGE)~/.local/share/cmake-3.22/Modules/FindBoost.cmake:2375 (find_package_handle_standard_args)CMakeLists.txt:4 (find_package)
This error occurs when the Boost development package is not installed in your root filesystem. Follow the Installing the dependencies section to install it.