Cross-Compiling the C++ Example Project
Pieter PThis page gives an overview of the included example project and has instructions on how to cross-compile it.
Overview of the example project
The Greeter library
For this example, we'll create a very simple library with a single function that just takes a name and an output stream as arguments, and that prints a greeting message to this stream. It's basically a "Hello, World!" example, but as a library for demonstration purposes.
The structure of the library will be as follows:
greeter├── CMakeLists.txt├── include│ └── greeter│ └── greeter.hpp├── src│ └── greeter.cpp└── test├── CMakeLists.txt└── greeter.test.cpp
This structure is very common for C++ libraries: the function prototypes/declarations will be in the header file
greeter.hpp. The implementations for these functions are in the corresponding
implementation file greeter.cpp.
The CMakeLists.txt file in the greeter directory specifies how the library should be
compiled, and where to find the headers.
Additionally, there's a test folder with unit tests in greeter.test.cpp. The
CMakeLists.txt file in this folder specifies how to compile and link the tests executable.
greeter.hpp

#pragma once#include <iosfwd> // std::ostream#include <string> // std::stringnamespace greeter {/*** @brief Function that greets a given person.** @param name* The name of the person to greet.* @param os* The output stream to print the greetings to.*/void sayHello(const std::string &name, std::ostream &os);} // namespace greeter
greeter.cpp

#include <greeter/greeter.hpp>#include <iostream> // std::endl, <<namespace greeter {void sayHello(const std::string &name, std::ostream &os) {os << "Hello, " << name << "!" << std::endl;}} // namespace greeter
CMakeLists.txt

# Add a new library with the name "greeter" that is compiled from the source# file "src/greeter.cpp".add_library(greeter"src/greeter.cpp""include/greeter/greeter.hpp")# The public header files for greeter can be found in the "include" folder, and# they have to be passed to the compiler, both for compiling the library itself# and for using the library in a other implementation files (such as# applications/hello-world/hello-world.cpp). Therefore the "include" folder is a# public include directory for the "greeter" library. The paths are different# when building the library and when installing it, so generator expressions are# used to distinguish between these two cases.# See https://cmake.org/cmake/help/latest/command/target_include_directories.html# for more information.# If you have private headers in the "src" folder, these have to be added as# well. They are private because they are only needed when building the library,# not when using it from a different implementation file.target_include_directories(greeterPUBLIC$<INSTALL_INTERFACE:include>$<BUILD_INTERFACE:${CMAKE_CURRENT_SOURCE_DIR}/include>PRIVATE$<BUILD_INTERFACE:${CMAKE_CURRENT_SOURCE_DIR}/src>)# Enable C++17target_compile_features(greeter PUBLIC cxx_std_17)# Add an alias with the proper namespace to prevent collisions with other# packages.add_library(greeter::greeter ALIAS greeter)# Include the rules for installing the libraryinclude(cmake/Install.cmake)# Include the tests in the "test" folder.add_subdirectory("test")
The unit tests
The test file only contains a single unit test, and just serves as an example. It uses the Google Test framework.
The tests can only be run on the build computer if we're not cross-compiling,
that's why the call to gtest_discover_test(...) is conditional.
greeter.test.cpp

#include <greeter/greeter.hpp>#include <gtest/gtest.h>#include <sstream>/*** @test** Check that the output of the greeter::sayHello function matches the* documentation.*/TEST(greeter, sayHello) {std::ostringstream ss;greeter::sayHello("John Doe", ss);EXPECT_EQ(ss.str(), "Hello, John Doe!\n");}
test/CMakeLists.txt

find_package(GTest MODULE REQUIRED)# Add a new test executable with the name "greeter.test" that is compiled from# the source file "greeter.test.cpp".add_executable(greeter.test"greeter.test.cpp")# The test executable requires the "greeter" library (it's the library under# test), as well as the Google Test main function to actually run all tests.target_link_libraries(greeter.testPRIVATEgreeterGTest::gtest_main)# Only look for tests if we're not cross-compiling. When cross-compiling, it's# not possible to run the test executable on the computer that's performing the# build.if (NOT CMAKE_CROSSCOMPILING)include(GoogleTest)gtest_discover_tests(greeter.test)endif()
The main Hello World program
Finally, the Greeter library can be used to create a simple Hello World program.
hello-world.cpp

#include <greeter/greeter.hpp> // Our own custom library#include <iostream> // std::cout, std::cin#include <string> // std::getlineint main(int argc, char *argv[]) {std::string name;if (argc > 1) { // If the user passed arguments to our programname = argv[1]; // The name is the first argument} else { // If not, ask the user for his namestd::cout << "Please enter your name: ";std::getline(std::cin, name);}greeter::sayHello(name, std::cout); // Greet the user}
CMakeLists.txt

# Add a new executable with the name "hello-world" that is compiled from the# source file "hello-world.cpp".add_executable(hello-world"hello-world.cpp")# The "hello-world" program requires the "greeter" library.# The target_link_libraries command ensures that all compiler options such as# include paths are set correctly, and that the executable is linked with the# library as well.target_link_libraries(hello-worldPRIVATEgreeter::greeter)include("cmake/Install.cmake")
Compiling the example project
Using Visual Studio Code
- Open this repository (
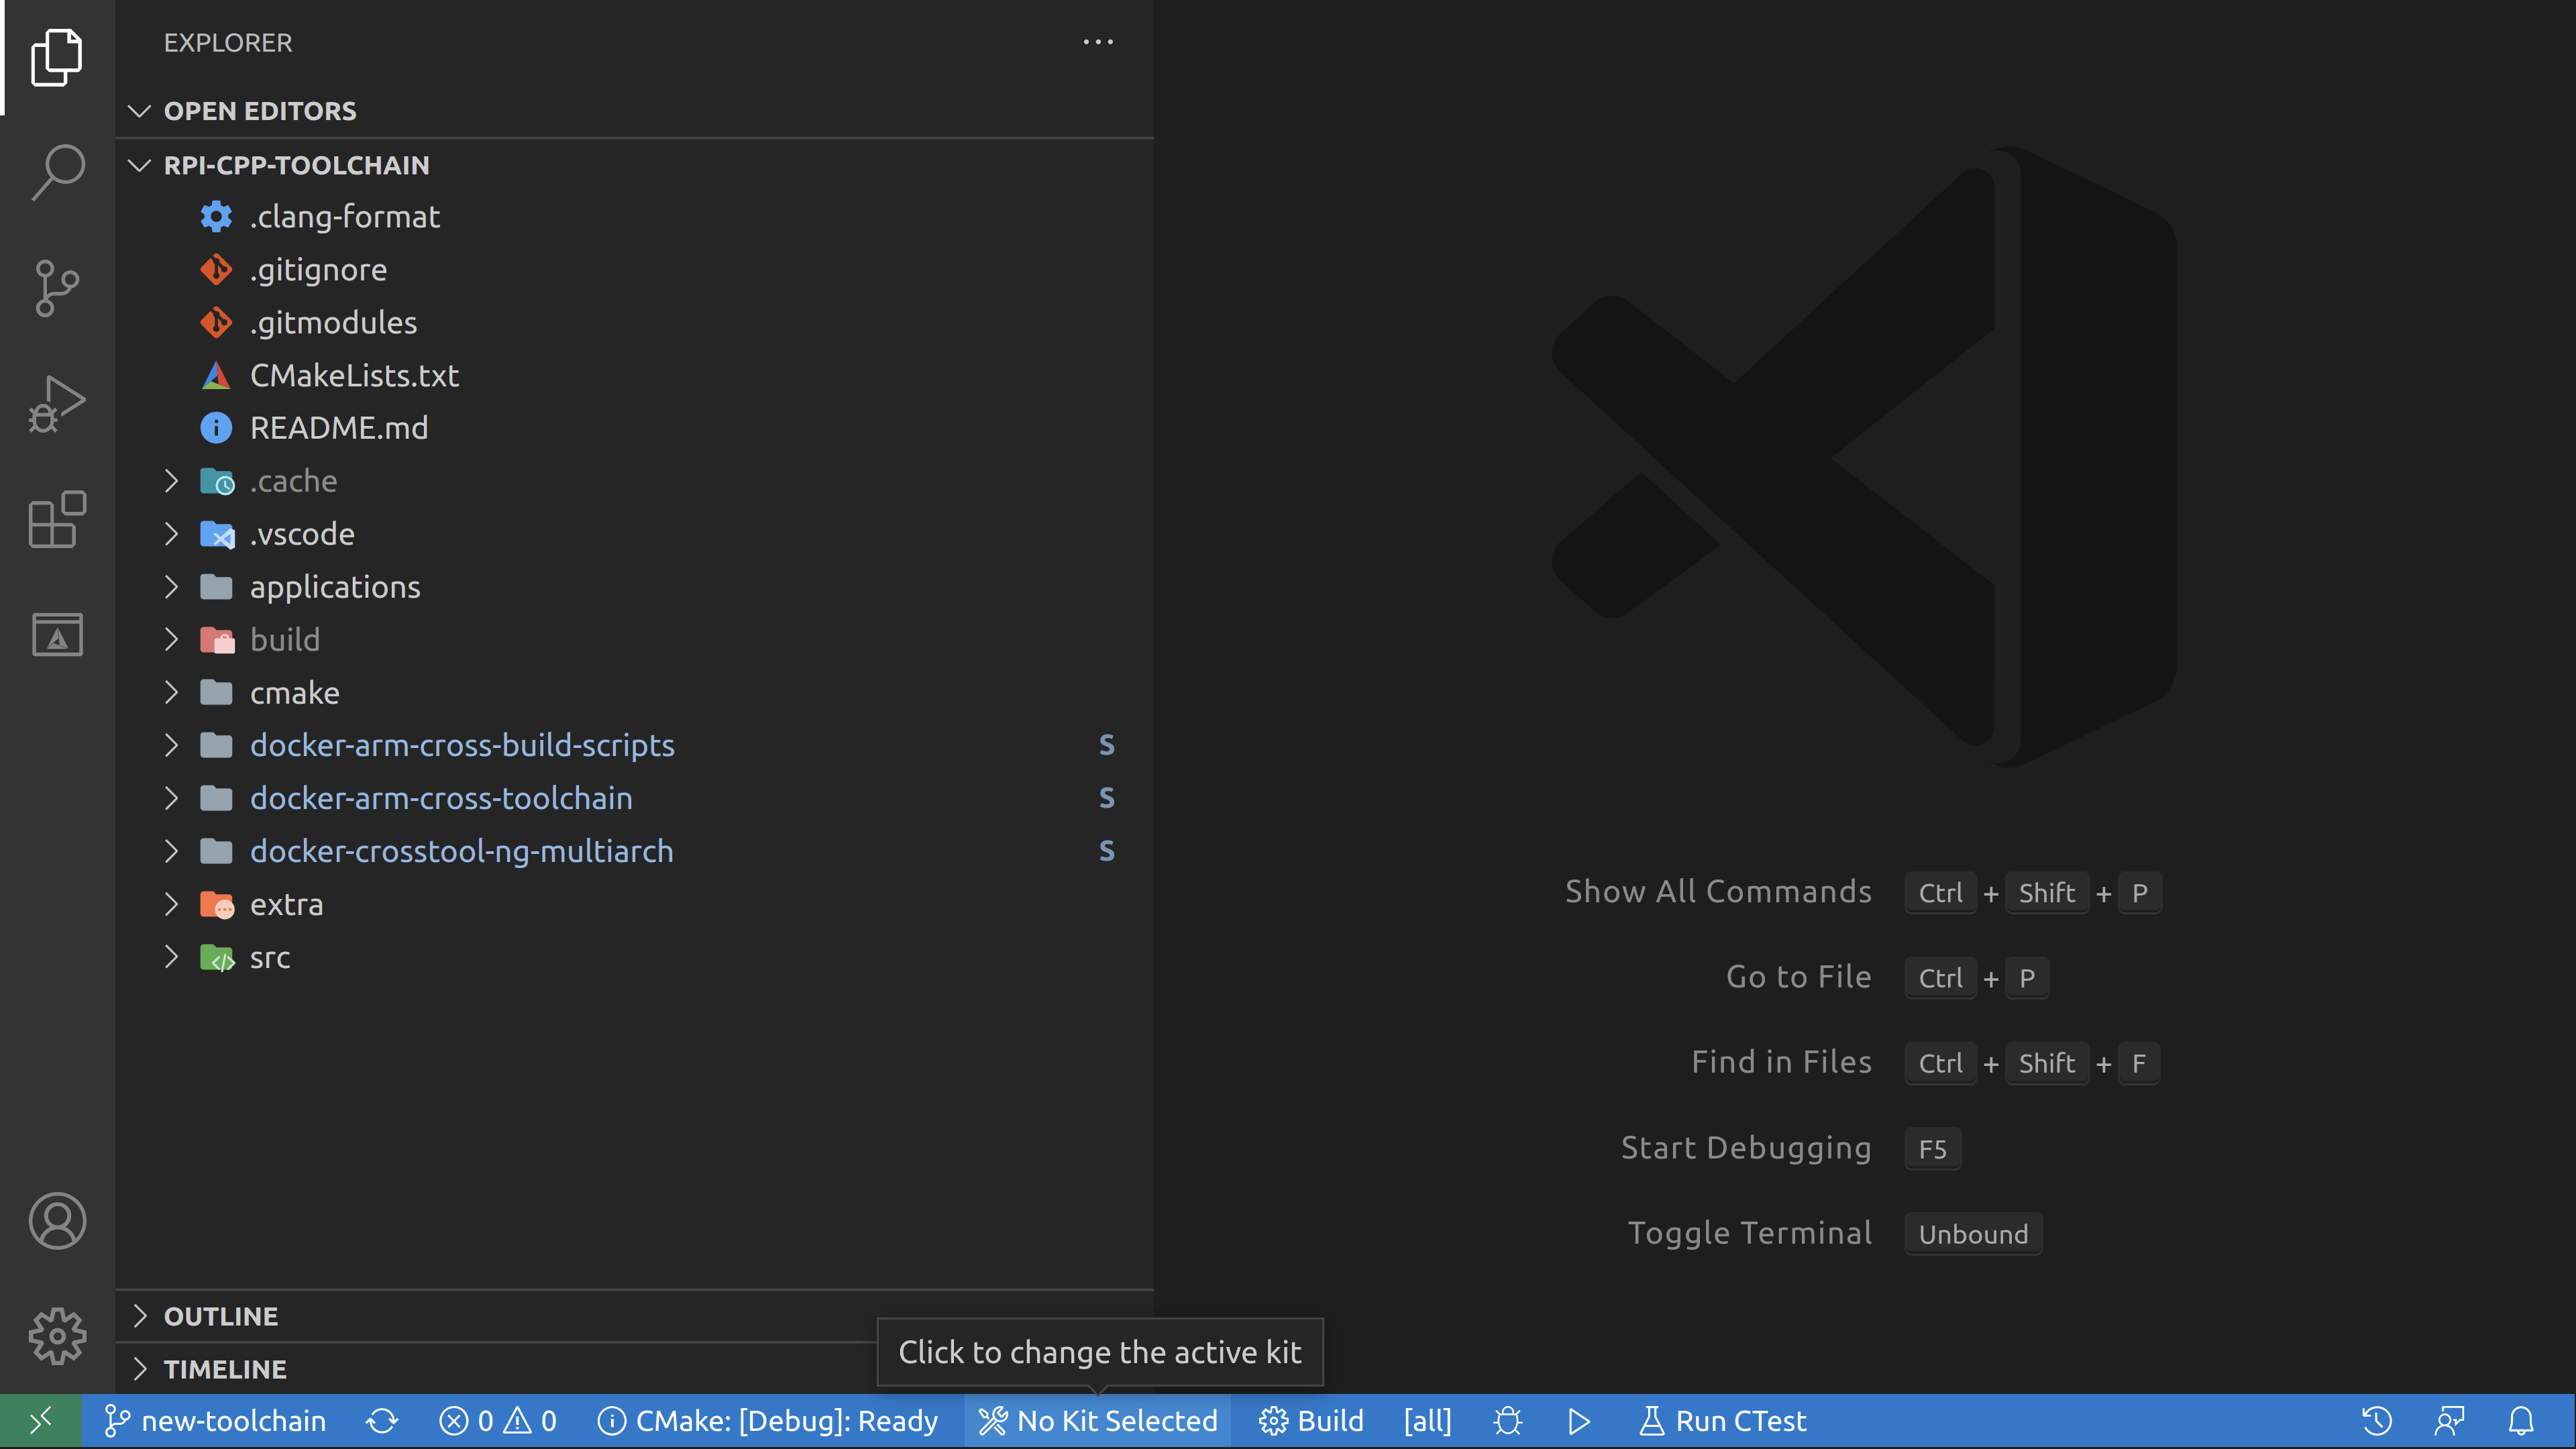
RPi-Cpp-Toolchain) in Visual Studio Code (e.g. using Ctrl+K O). - You will be prompted “Would you like to configure project 'RPi-Cpp-Toolchain'?”.
Click “Yes”.
(If this prompt doesn't appear automatically, click the “No Kit Selected” button at the bottom of the window.)
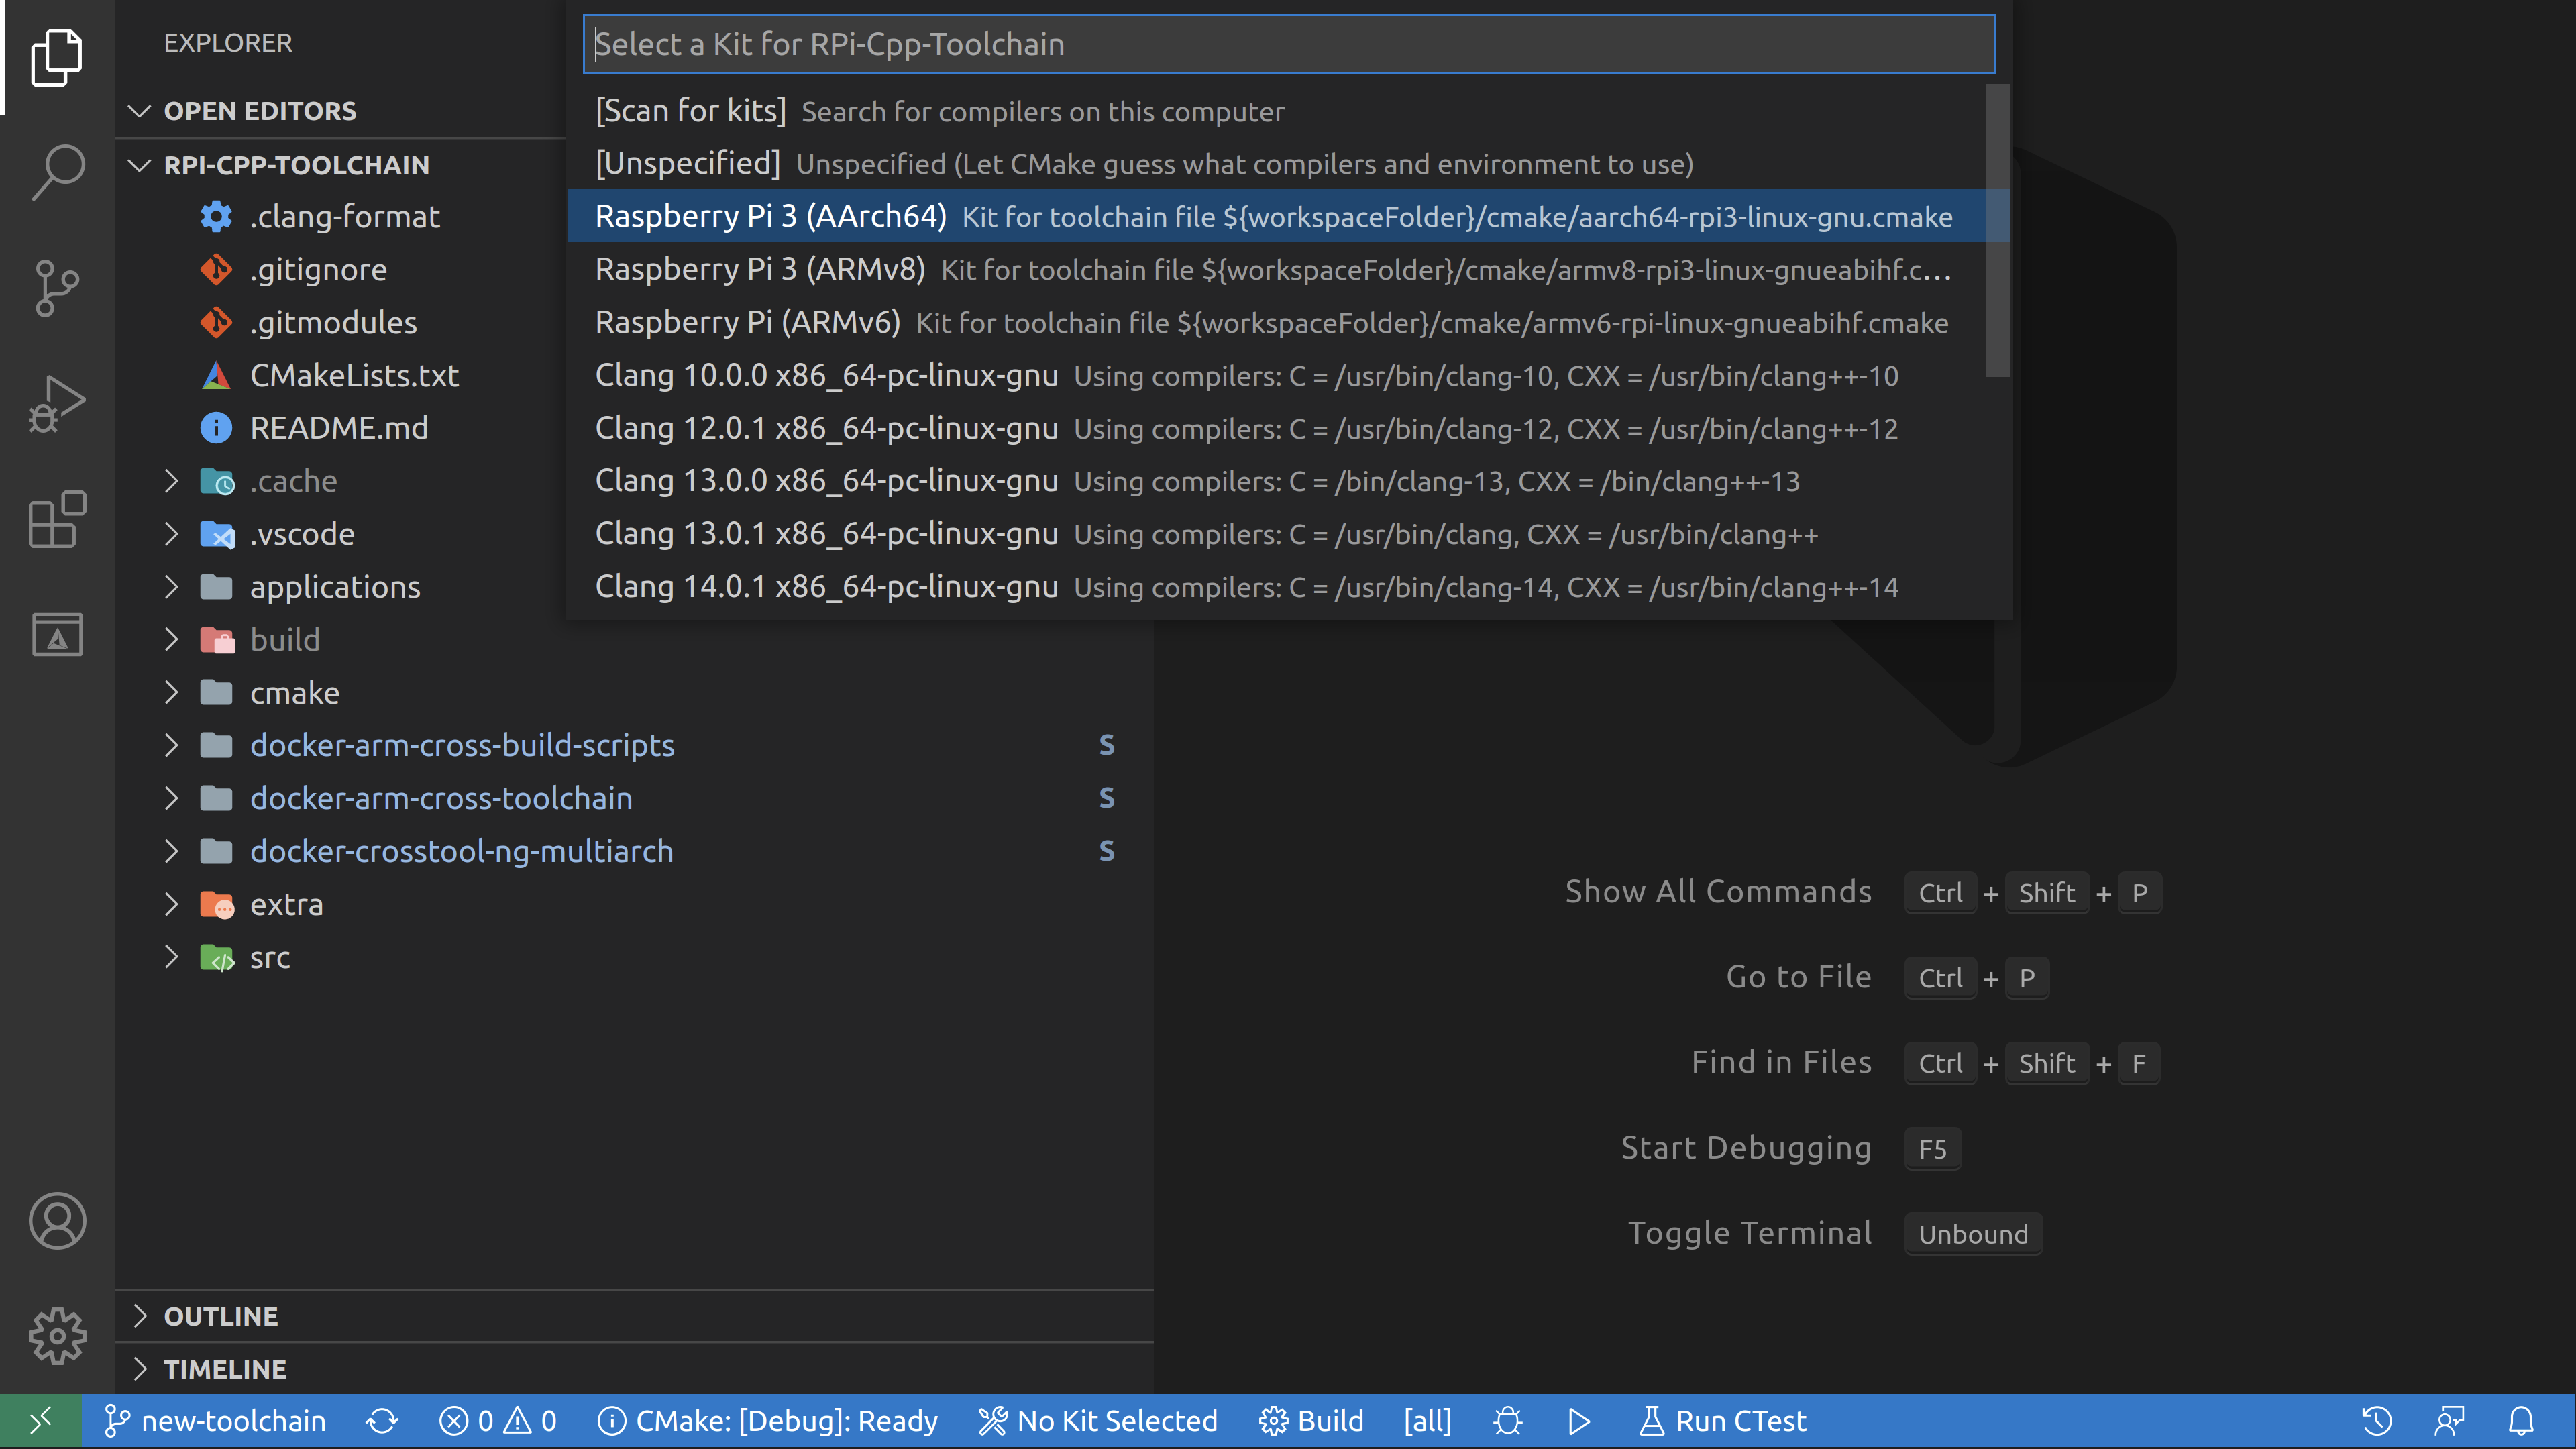
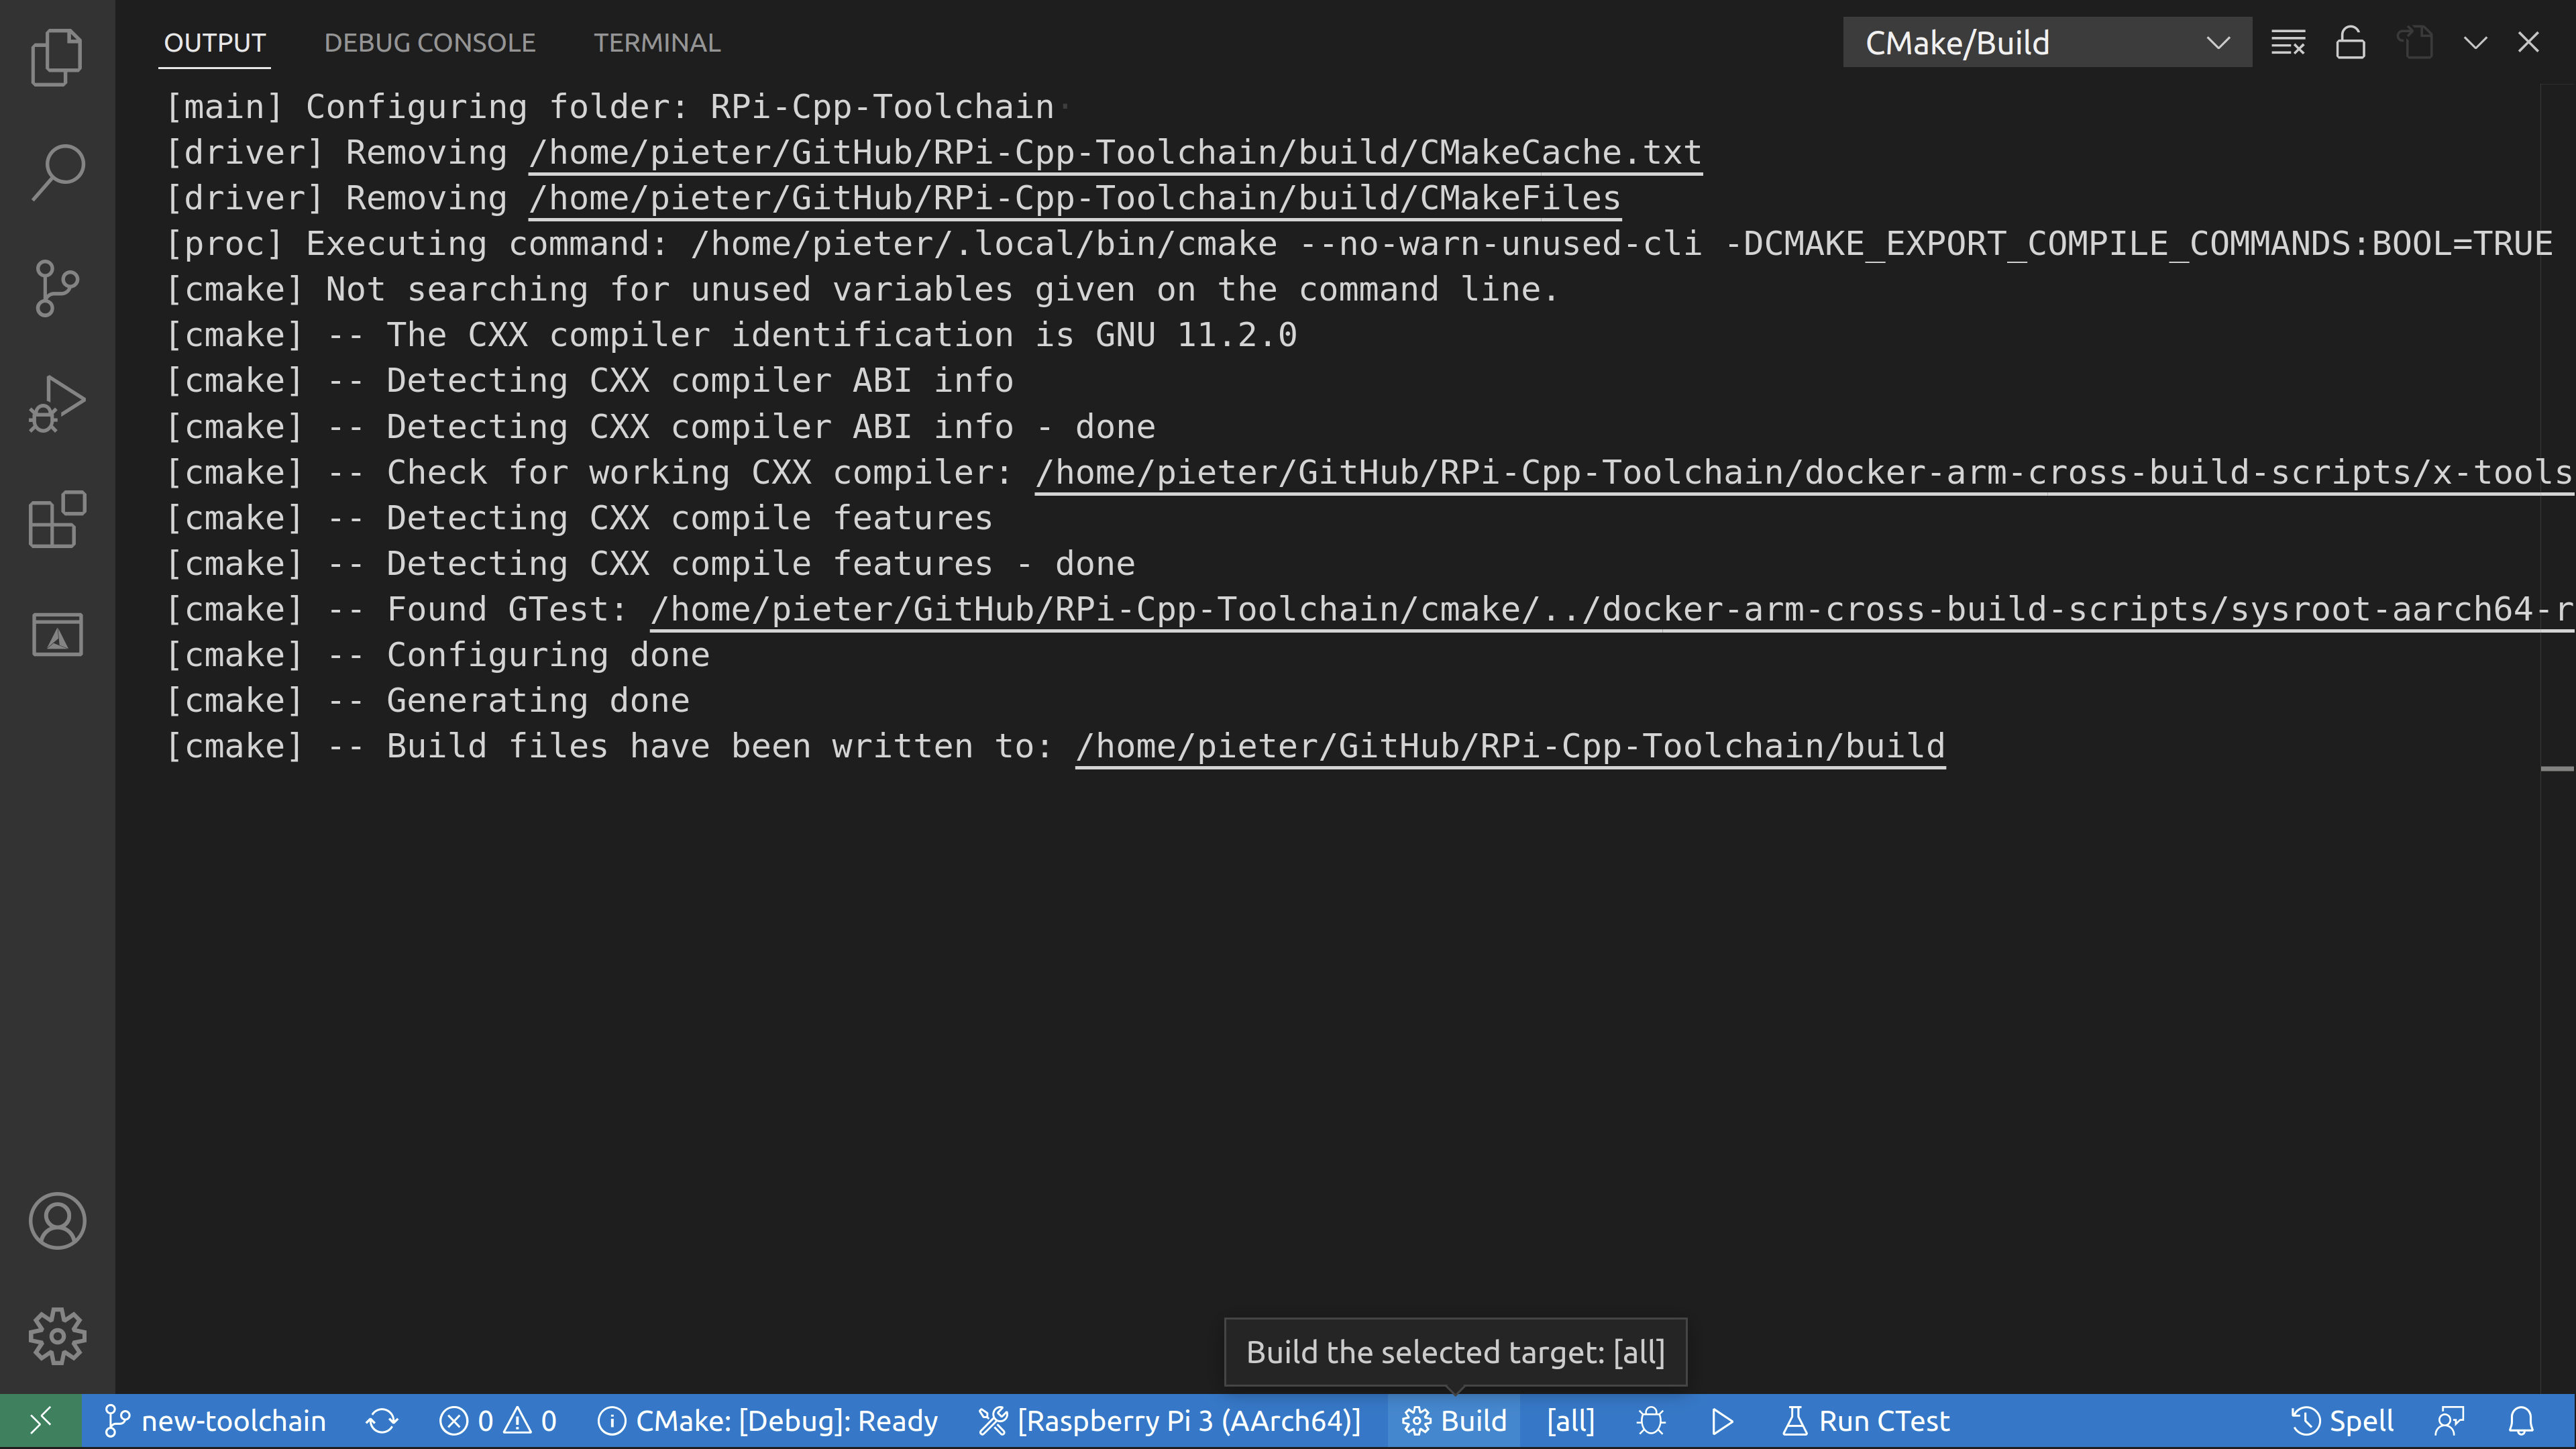
- Select the configuration that matches your specific board, e.g. Raspberry Pi 3 (AArch64). CMake will now configure the project for you.
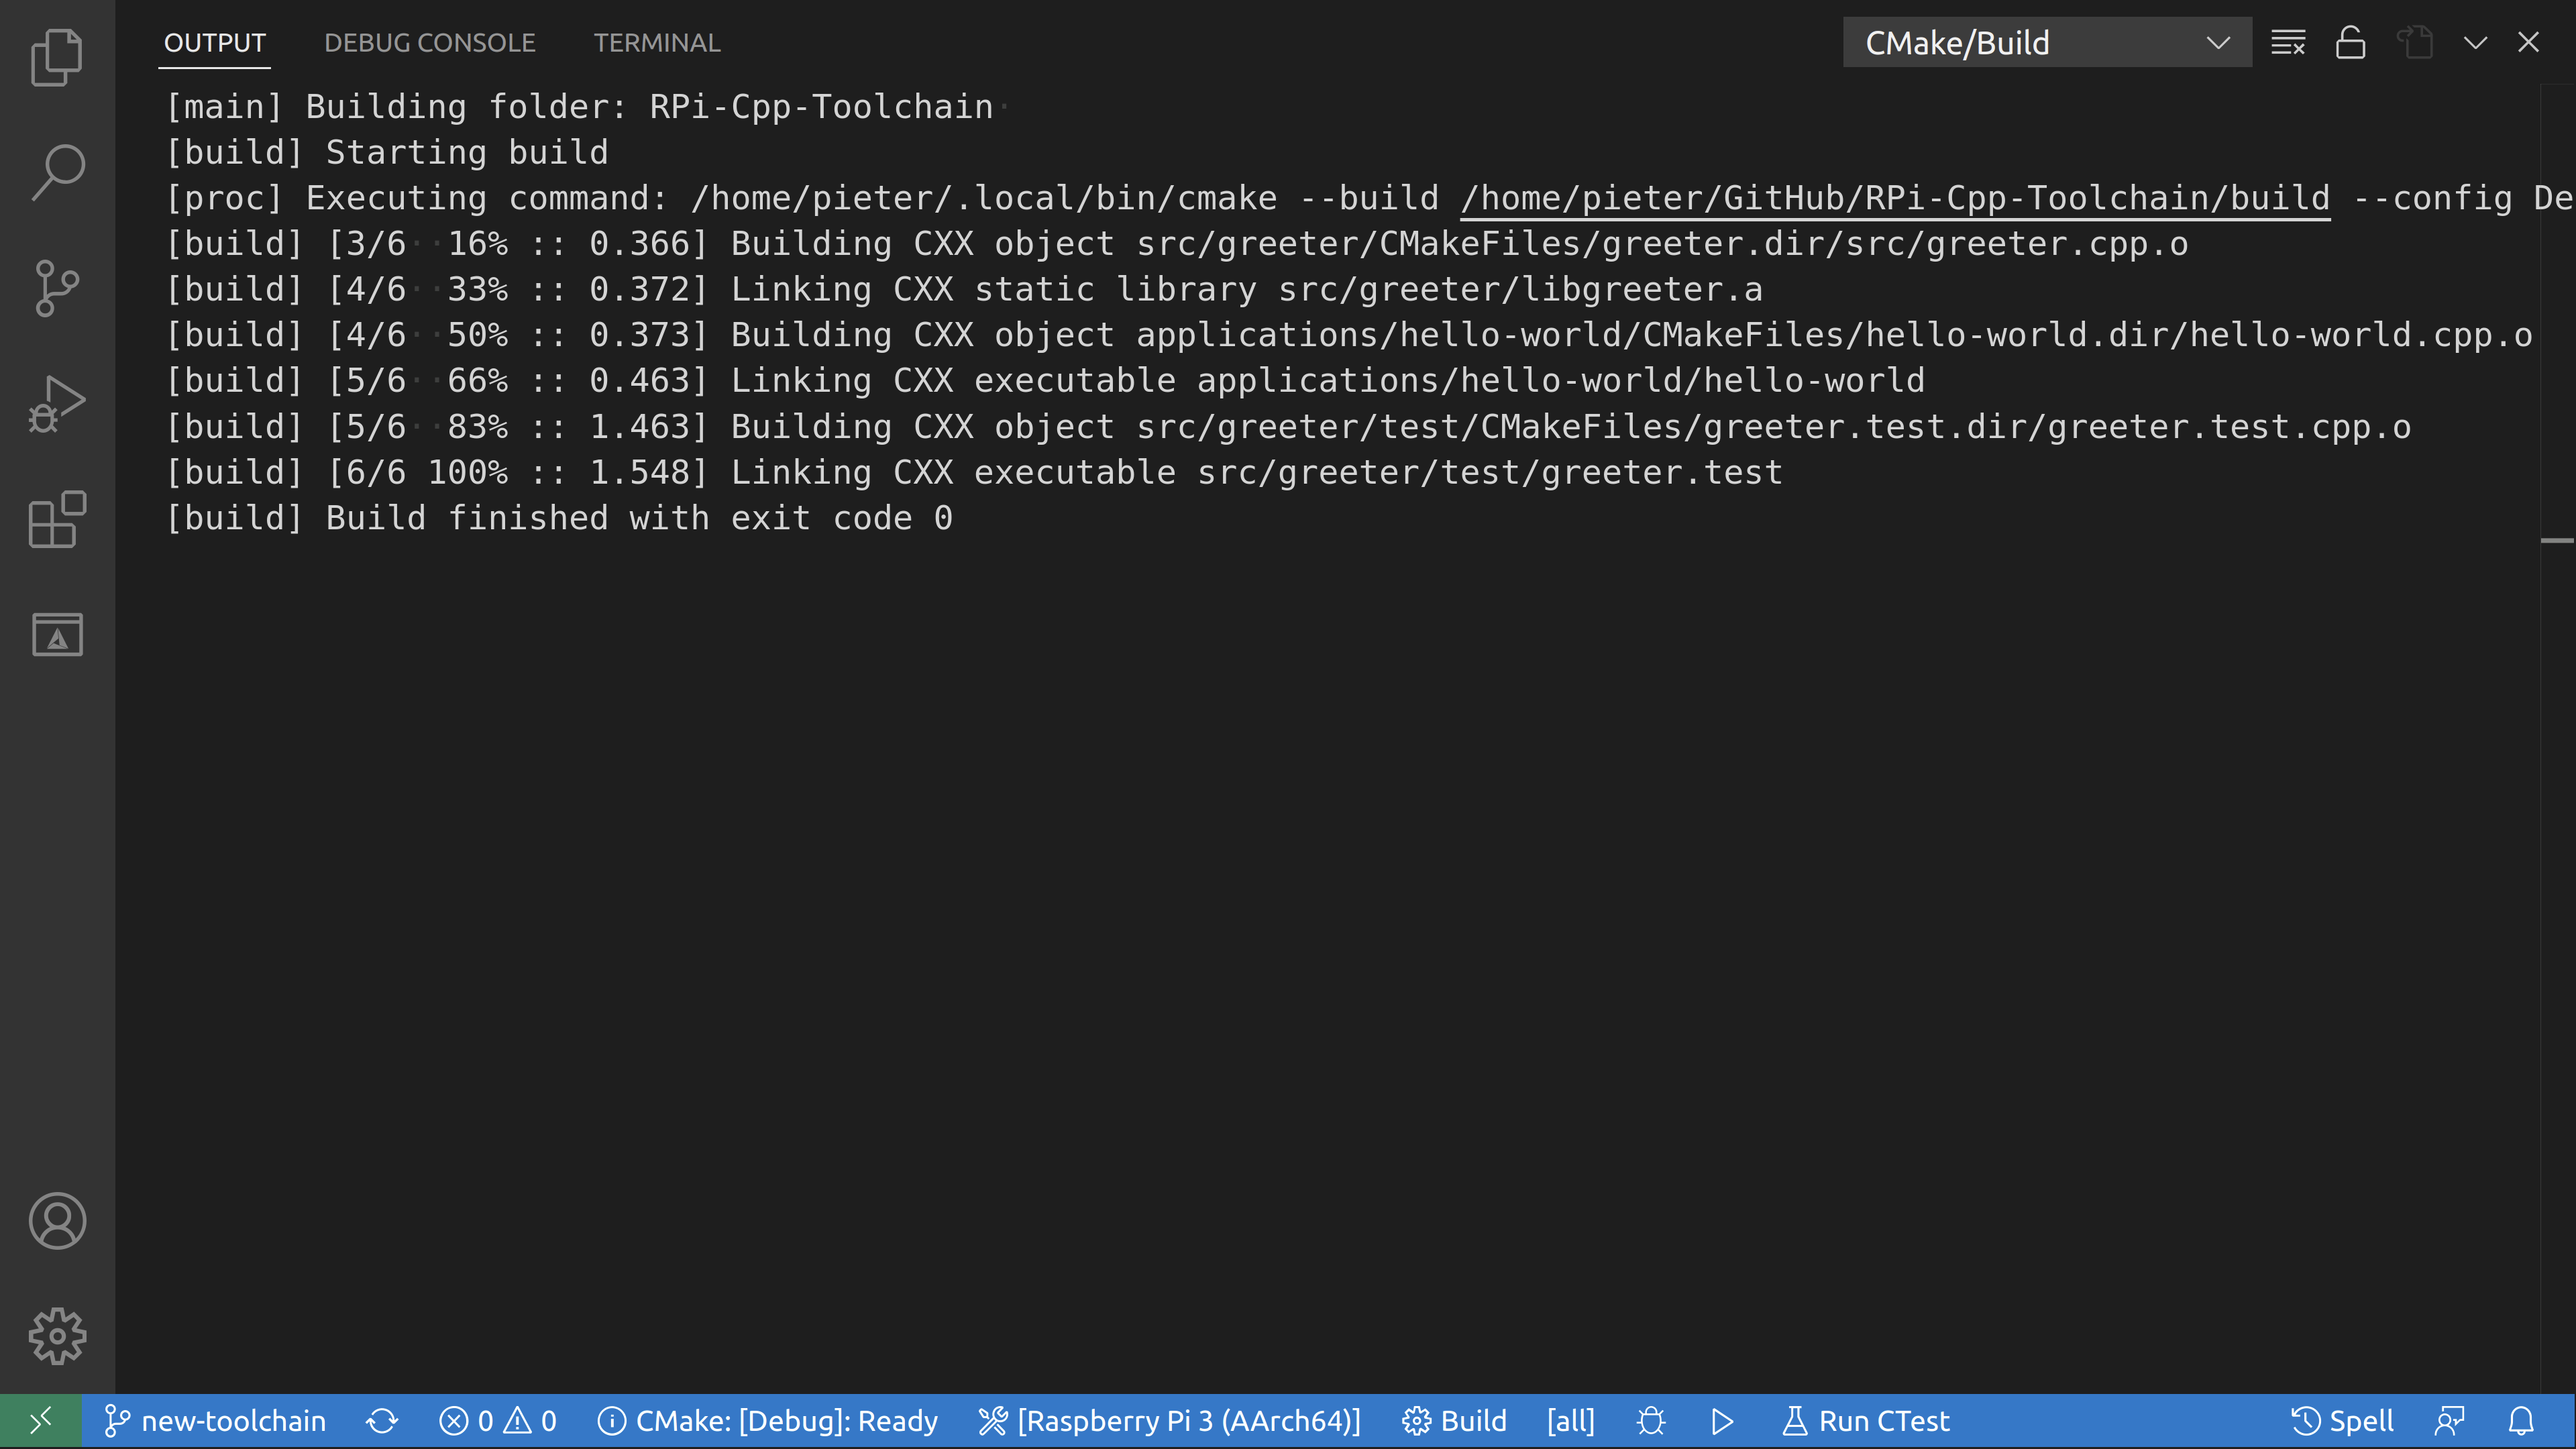
- Click the “
Build” button at the bottom of the window to compile the library, tests and examples.
- Package the project.
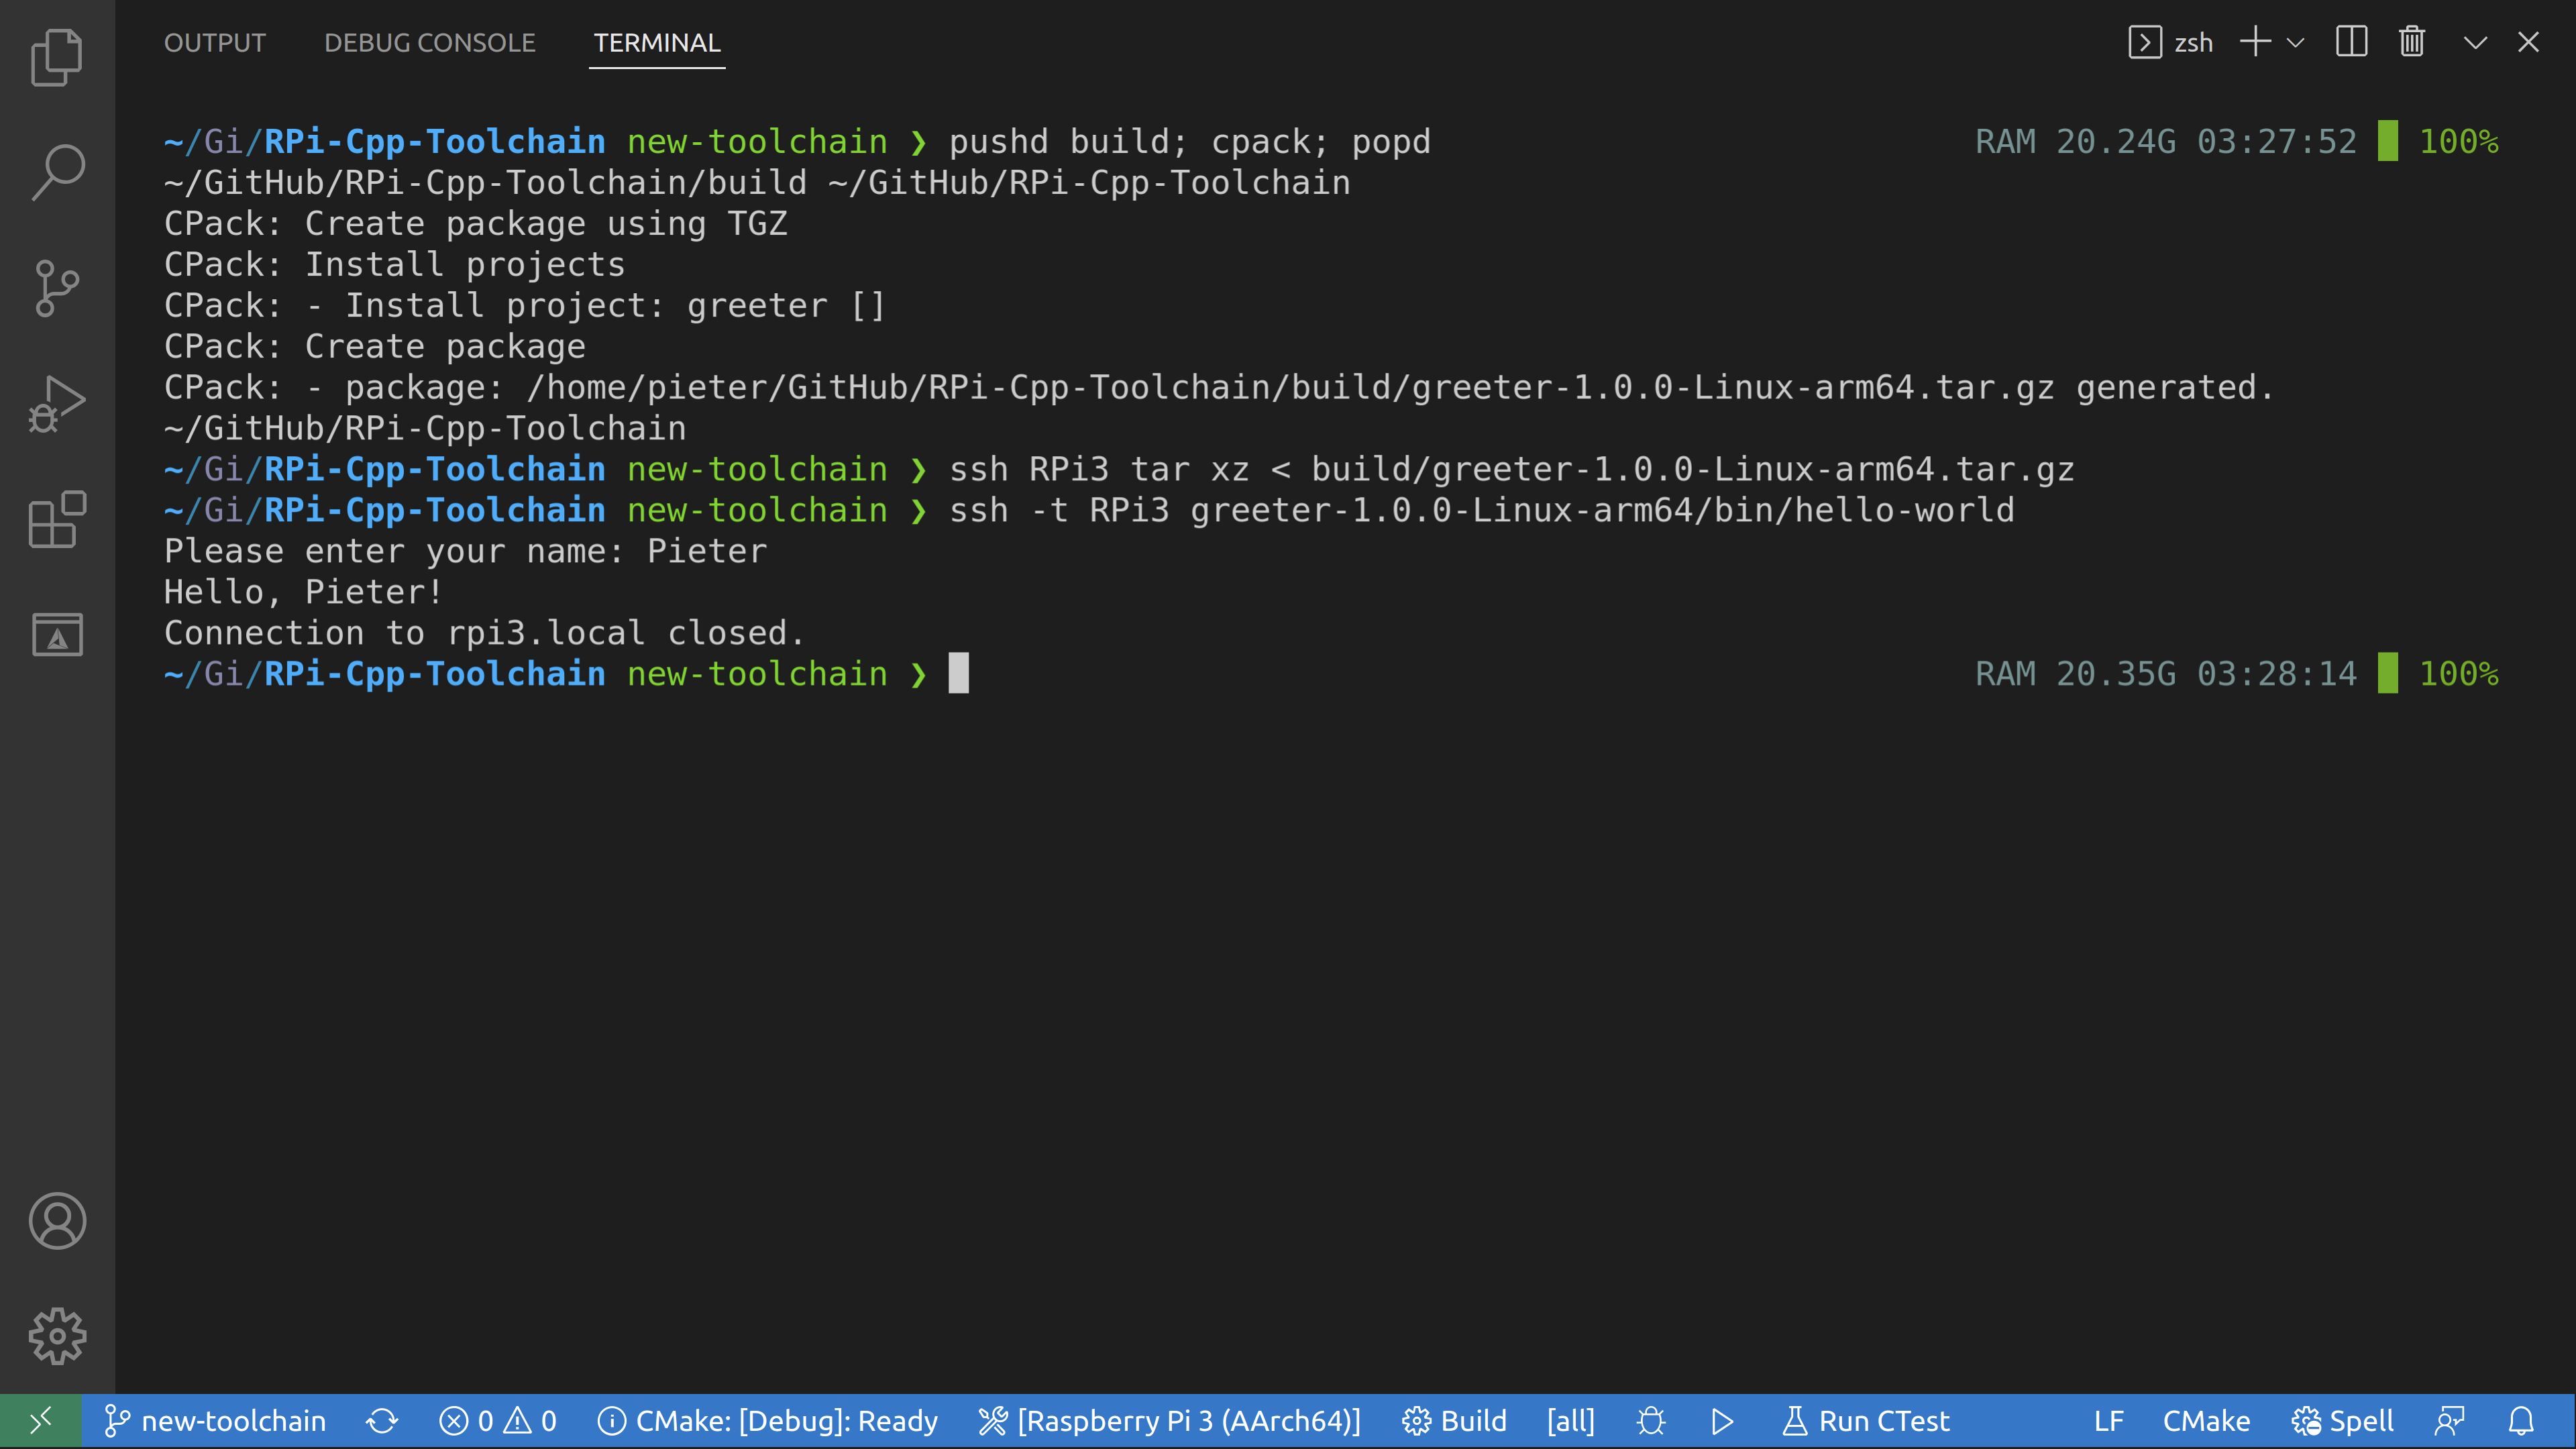
pushd build; cpack; popd
- Copy the project to the Raspberry Pi.
ssh RPi3 tar xz < build/greeter-1.0.0-Linux-arm64.tar.gz
- Run the hello world program on the Pi.
ssh -t RPi3 greeter-1.0.0-Linux-arm64/bin/hello-world
Using the command line

# See what toolchain files are available, use the one that matches your board.ls cmake# Configure the project using the correct toolchain.cmake -S. -Bbuild \-DCMAKE_TOOLCHAIN_FILE="cmake/aarch64-rpi3-linux-gnu.cmake" \-DCMAKE_BUILD_TYPE=Debug# Build the project.cmake --build build -j# Package the project.pushd build; cpack; popd# Copy the project to the Raspberry Pi.ssh RPi3 tar xz < build/greeter-1.0.0-Linux-arm64.tar.gz# Run the hello world program on the Pi.ssh -t RPi3 greeter-1.0.0-Linux-arm64/bin/hello-world