Python Development
Pieter PThis is a quick guide on how to get remote Python development working on a Raspberry Pi 3. It allows you to open Visual Studio Code on your computer, while opening a workspace folder on the Raspberry Pi over SSH. All files are saved on the Pi, the terminal is on the Pi, the Python extension runs on the Pi, etc. but you can use the editor as if you were doing local development.
Raspberry Pi 3
Install Ubuntu Server 18.04 or later and set it up to use over SSH as explained here. It's important that you have the SSH configuration and that you're able to find the Pi on the network (using mDNS, DNS, or a fixed IP address).
Desktop
- Install Visual Studio Code.
- Install the "Remote - SSH" extension and reload the window if necessary (
CTR+Shift+P> Reload Window). - Hit
Ctrl+Shift+P, type "Remote-SSH: Connect to Host..." and confirm with enter. - Choose your Raspberry Pi 3 SSH configuration and hit enter again.
- The VS Code Server will now be installed to the Pi, this will take a moment.
- Once it's finished, open a terminal in VS Code. This is a terminal on the Pi.
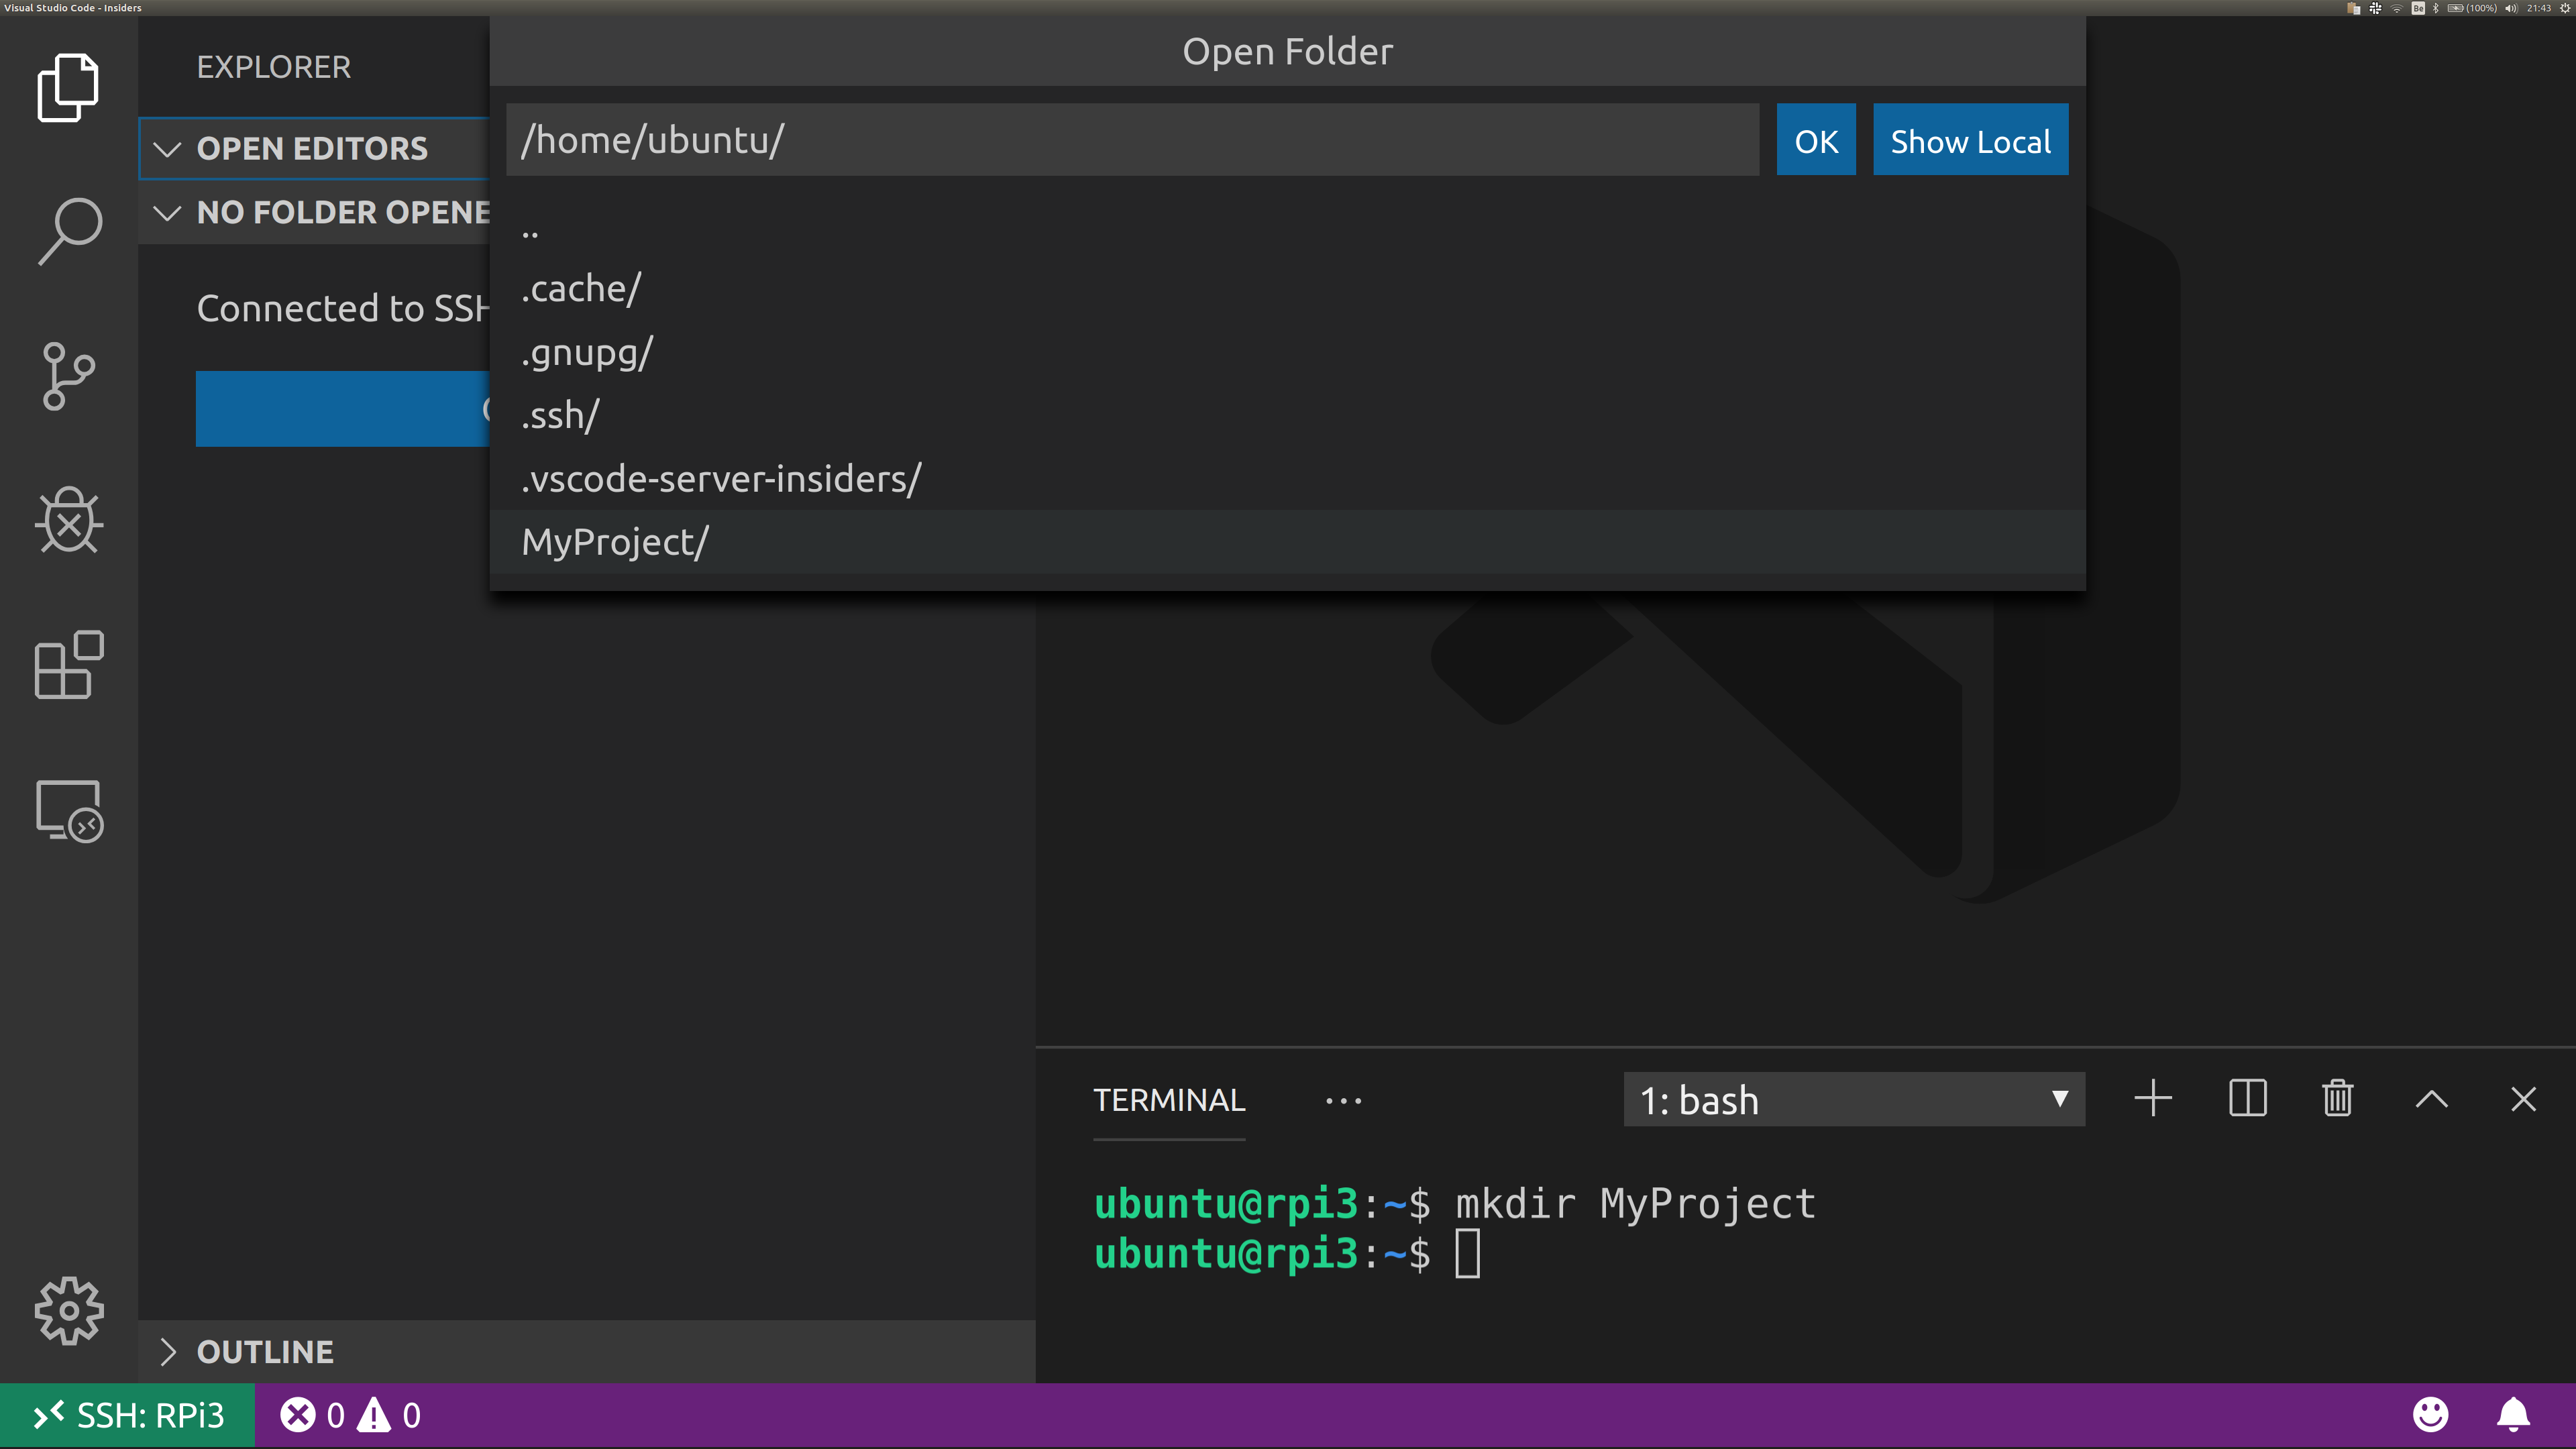
- Create a workspace folder using
mkdir MyProject, and open it in VS Code (Ctrl+K+O). - Open the extensions panel using
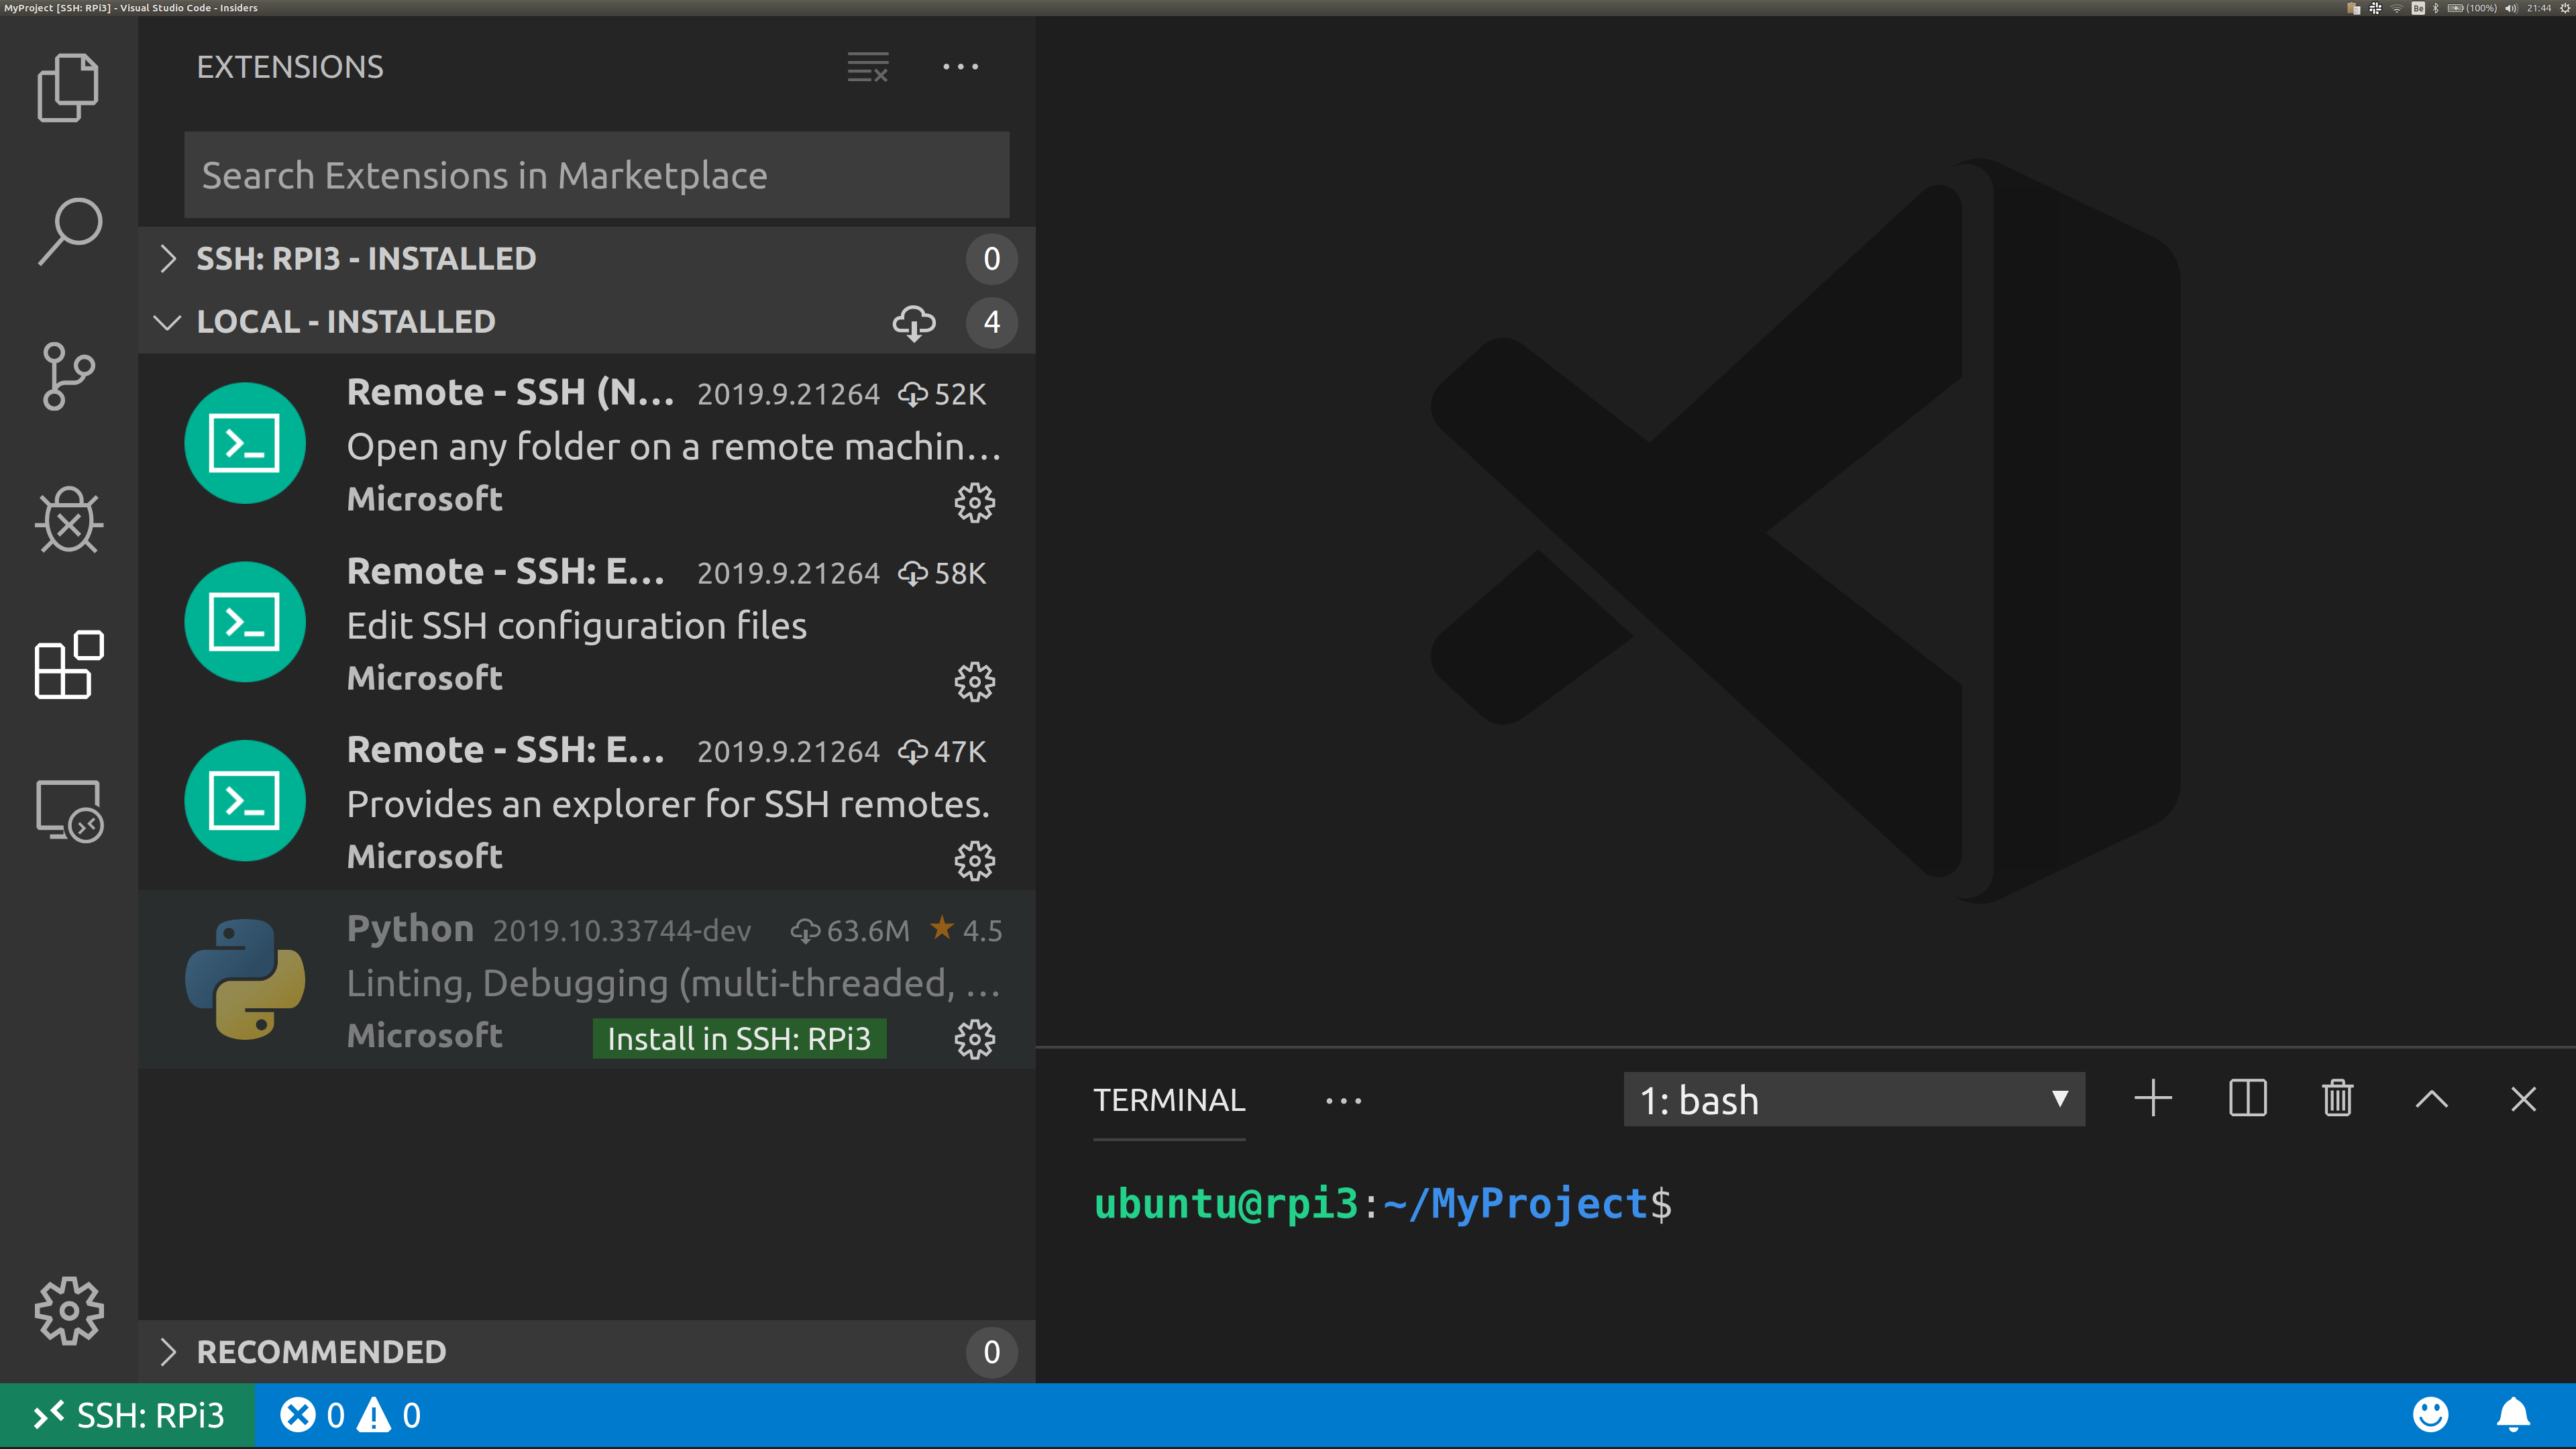
Ctrl+Shift+X, search for the Python extension by Microsoft, and install it. - Clear the extension search field, and in the "Local - Installed" tab, click "Install in SSH: RPi3" next to the Python extension (green button).
- When it's done installing, it'll say "Reload Required" (blue button). Click it to reload the window with the extension enabled.
- In the bottom left corner, click "Select Python Interpreter" and select the Python version to use on the Pi.
- Create a new Python file, add
print('Hello, World!'), and save it. - Use
Ctrl+Shift+P, type "Python: Run Python File in Terminal" and hit enter to run the file.
This should print "Hello, world!" in the terminal. - That's it, you can now write Python code in VS Code as usual, even though the files are saved and executed on the Pi.