Installation and setup
Pieter POperating Systems
This guide is focussed on Linux as an operating system for building and deploying.
While it should be possible to do most of it on Windows as
well, I wouldn't recommend it at all. Development tools are harder to install on Windows, and building the
Docker containers will take much longer, especially if you don't have Windows Pro or Enterprise (Windows Home
doesn't have Hyper-V and Containers support).
I've worked in a team where some developers preferred Windows, and I (eventually) got most of it to run correctly,
but it wasn't worth it. Compiling large projects in a virtualized Docker container was many times slower than doing
the same thing natively on Linux, the network configuration to connect to the Raspberry Pi directly was a pain,
on-target debugging was not directly supported, etc.
In the end, everyone moved to Linux, because it was so much faster and easier to use.
If you want to get serious about developing C/C++ software for the Raspberry Pi, installing Linux is definitely
worth it.
I'll be using Ubuntu 22.04 throughout this guide, but pretty much everything applies to other Linux distributions as well. The most significant difference will be the package manager used. On Ubuntu, I'll use APT, but most packages should be available in your distro's package manager as well.
Git
The RPi-Cpp-Toolchain repository uses Git as a version control system. Install it so you can
download the repository in the next step.
Installation
Either download Git from the website, or install it using your package manager:
sudo apt install git
The RPi-Cpp-Toolchain repository
Clone the repository from GitHub. We'll clone it to ~/GitHub/RPi-Cpp-Toolchain, but feel
free to put it wherever you like.
mkdir -p ~/GitHubcd ~/GitHubgit clone --recursive https://github.com/tttapa/RPi-Cpp-Toolchain.git
Docker
I don't like to do a lot of installations on my main Linux box, so I built the toolchain and most of the libraries
inside of a Docker container.
This has the added benefit that all builds are reproducible, and it's easy to undo the previous step or even start
from scratch.
You can find more information about the use of Docker on the next page.
Installation
You need Docker to build the libraries and toolchains.
Docker Compose is optional.
You can find detailed installation instructions here:
Visual Studio Code
This guide uses Visual Studio Code as the main editor, and the repository contains the necessary configuration files, build tasks, debug configurations, etc. If you know what you're doing, you can of course use any editor or IDE, with your own configuration files, but if you're a beginner, I'd recommend VSCode to follow along.
Installation
You can download VSCode from https://code.visualstudio.com/, or if you're on Ubuntu, you can install it as a Snap:
sudo snap install code --classic
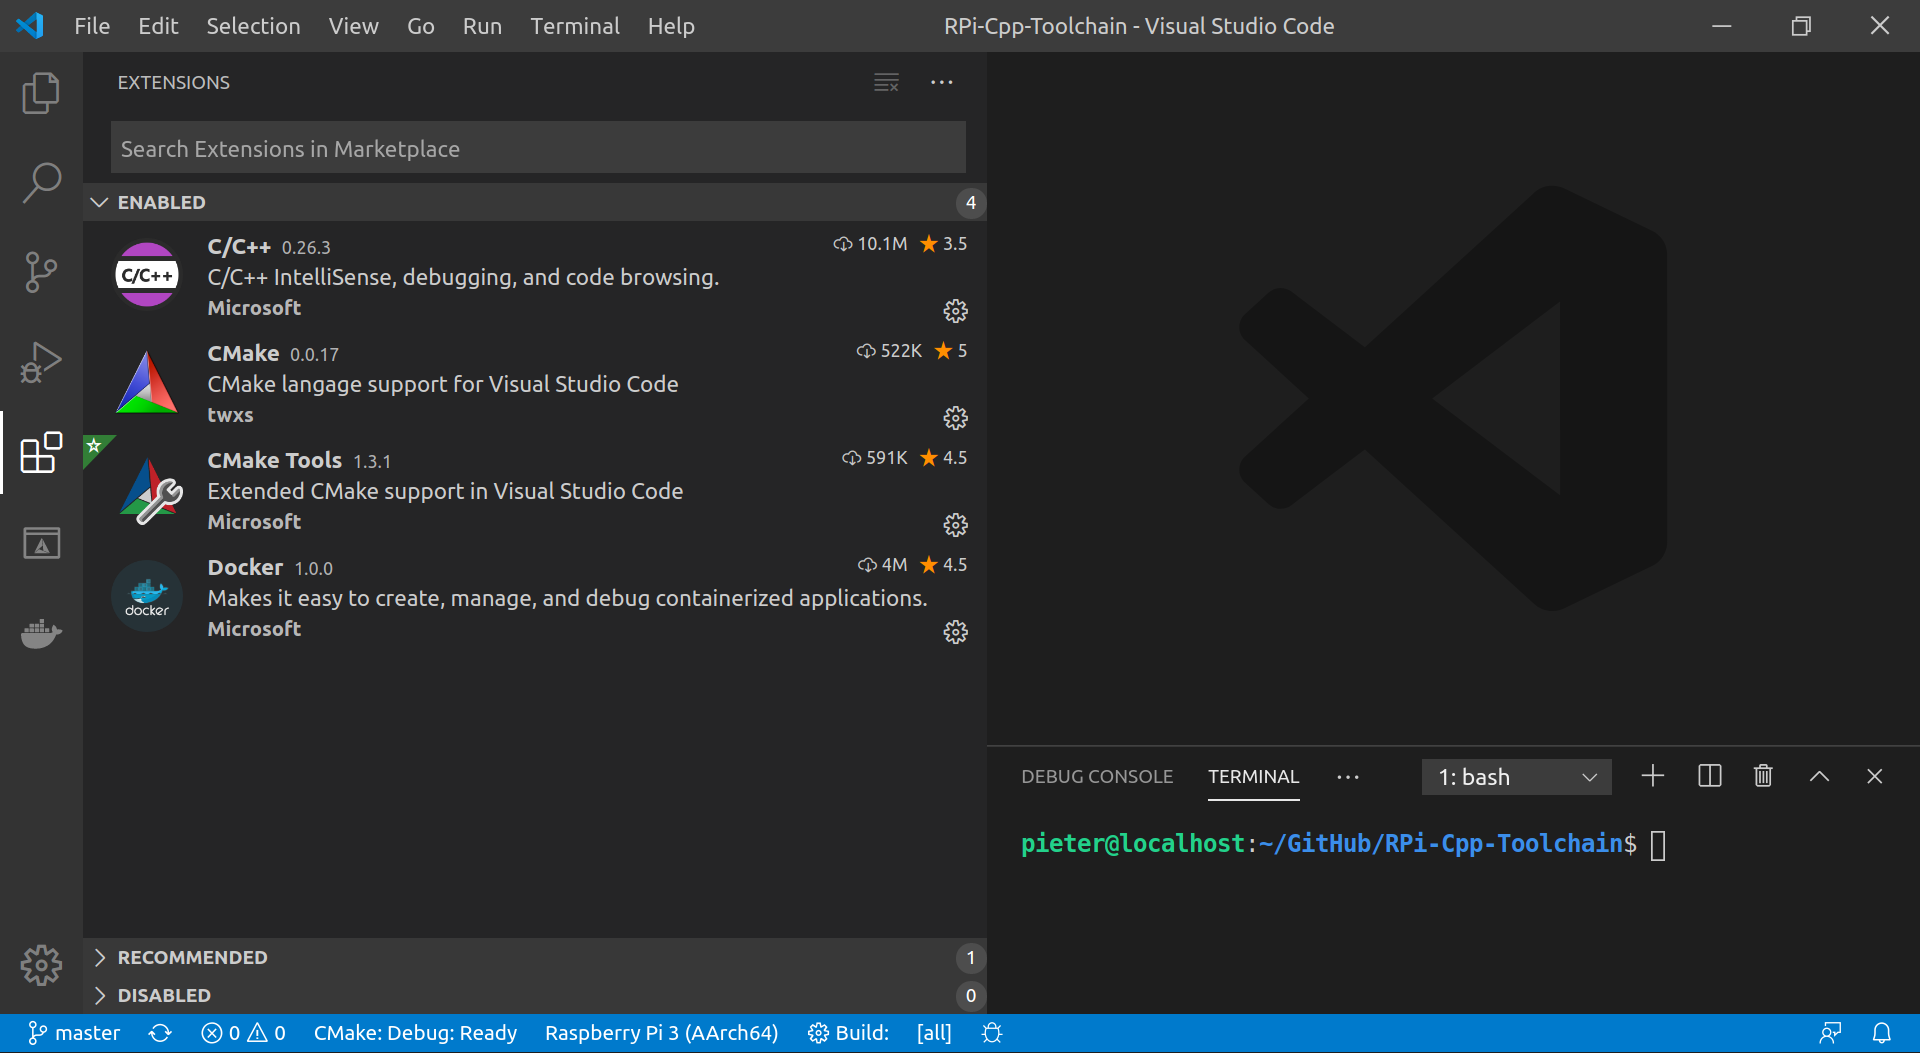
Extensions
The two most important extensions we'll use in this project, are the
C/C++ extension and the
CMake Tools extension.
If you plan on editing the Dockerfiles to modify the toolchain or the libraries, you might find the
Docker extension
useful as well.
Build tools
CMake
CMake is a tool to configure C/C++ projects. It takes care of dependencies between parts of your project, external libraries, and generates build files that are later used to compile the code.
You can download the latest version of CMake from https://cmake.org, or you can install it using your package manager:
sudo apt install cmake
Make
After the project is configured using CMake, Make is used to build everything. It tracks dependencies and invokes the compiler and other tools to compile all code with the options determined by CMake.
You can download the source code for Make from the website, but it's much easier to just install it using the package manager:
sudo apt install make
If you've installed CMake using the package manager, Make will probably already be installed.
You can also use Ninja instead of Make if you explicitly set the generator when configuring the CMake projects.
sudo apt install ninja-buildGCC (optional)
GCC is a collection of compilers, including C, C++ and Fortran compilers. We'll build our own GCC cross-compilation toolchain later, so you don't really need to install a native version of GCC on your computer, but I'd recommend it nonetheless. It's very useful for testing and debugging parts of your code that don't have to be run on the Raspberry Pi.
You can install your distro's default version of GCC using the package manager:
sudo apt install gcc g++
However, the default version is often out of date, especially on LTS releases of Ubuntu. Luckily, you
can easily install the latest version from the ubuntu-toolchain-r/test PPA. For example:
sudo add-apt-repository ppa:ubuntu-toolchain-r/testsudo apt install gcc-11 g++-11
You can also install Clang, using their official PPAs: https://apt.llvm.org/. For example, to install Clang 14:
source /etc/os-releasesudo add-apt-repository "deb http://apt.llvm.org/${UBUNTU_CODENAME}/ llvm-toolchain-${UBUNTU_CODENAME}-14 main"sudo apt install clang-14