Development setup
Pieter PPrepare for cross-compilation
Install developer tools
sudo apt install ubuntu-dev-tools
We're only using these tools to easily manage chroot environments and to run
apt to manage cross-compilation dependencies. If you're
interested, you can find more information on the Ubuntu and Debian Wiki,
but most of it is far beyond the scope of this guide:
https://wiki.ubuntu.com/SimpleSbuild,
https://wiki.debian.org/sbuild.
Create a Raspberry Pi OS root filesystem
We'll use debootstrap to create a minimal Raspberry Pi OS root filesystem in
a folder on our computer. It has all the system libraries of the Raspberry
Pi installed and you can install third-party libraries as well, these are
necessary to link your executables when cross-compiling.
This root filesystem folder is often
referred to as the sysroot, and it will later be passed as an option to
CMake, the compiler, the linker, GDB, etc. so they can find the necessary files
(we cannot use the actual root file system of our computer, because the
libraries there have the wrong architecture, most likely x86_64, but we need
armv6 libraries).
wget -qO- https://archive.raspbian.org/raspbian.public.key | gpg --import -mk-sbuild --arch=armhf buster --debootstrap-mirror=http://raspbian.raspberrypi.org/raspbian --name=rpizero-buster --debootstrap-keyring "$HOME/.gnupg/pubring.kbx --merged-usr" --skip-proposed --skip-updates --skip-security
If this is the first time you use mk-sbuild, you'll be asked to
edit your ~/.sbuildrc file. Since we're not actually going to
be publishing any packages, you can just accept the defaults.
After this first run, reboot your computer (or log out and back in again, or
use su - $USER, to flush group memberships), and run the second
command again:
mk-sbuild --arch=armhf buster --debootstrap-mirror=http://raspbian.raspberrypi.org/raspbian --name=rpizero-buster --debootstrap-keyring "$HOME/.gnupg/pubring.kbx --merged-usr" --skip-proposed --skip-updates --skip-security
This will install a minimal version of Raspberry Pi OS in a folder on your
computer. The Ubuntu development tools allow you to install libraries into
this folder using apt install, which makes it very easy to
manage the cross-compilation dependencies.
The --merged-usr option is included in the --debootstrap-keyring option so that it
is passed on to debootstrap, the mk-sbuild script currently lacks this option.
If something went wrong or if you no longer need it, you can use
sudo sbuild-destroychroot rpizero-buster-armhf, it will give instructions how to remove the root
filesystem and the schroot configuration.
If you used a different name for your build environment, remember to replace it in the commands throughout the rest of the tutorial.
Install the toolchain
The cross-compilation toolchains in the Ubuntu repositories are not compatible with Raspberry Pi OS, so you'll have to build or install your own. It's easiest to just download the crosstool-NG toolchain from https://github.com/tttapa/docker-arm-cross-toolchain.
In this example, I'll be using the ARMv6 toolchain, because it is compatible with all Raspberry Pi boards. If you only need to support newer boards, or if you're using a 64-bit version of Raspberry Pi OS, you might want to use the ARMv8 or AArch64 toolchain (see the README of tttapa/docker-arm-cross-toolchain for more details).
mkdir -p ~/optwget -qO- https://github.com/tttapa/docker-arm-cross-toolchain/releases/latest/download/x-tools-armv6-rpi-linux-gnueabihf.tar.xz | tar xJ -C ~/opt
This installs the toolchain to ~/opt/x-tools/armv6-rpi-linux-gnueabihf.
You can add it to your path using:
echo 'export PATH="$HOME/opt/x-tools/armv6-rpi-linux-gnueabihf/bin:$PATH"' >> ~/.profileThis will only take effect after you log out and back in again, so you might want to do that now, or execute the following command to add it to your path in the current terminal:
export PATH="$HOME/opt/x-tools/armv6-rpi-linux-gnueabihf/bin:$PATH"Verify that the toolchain is installed correctly by running:
armv6-rpi-linux-gnueabihf-g++ --version
armv6-rpi-linux-gnueabihf-g++ (crosstool-NG UNKNOWN) 11.2.0
Copyright (C) 2021 Free Software Foundation, Inc.
This is free software; see the source for copying conditions.  There is NO
warranty; not even for MERCHANTABILITY or FITNESS FOR A PARTICULAR PURPOSE.
You can find more information about this toolchain and instructions on how to customize it here.
Install the C++ standard library to the Pi
Out of the box, Raspberry Pi OS uses an older compiler and has an older
version of the C++ standard library installed. Since we're going to use a
new toolchain, we need to install a newer version of libstdc++
to the Pi to be able to run our programs:
scp ~/opt/x-tools/armv6-rpi-linux-gnueabihf/armv6-rpi-linux-gnueabihf/sysroot/lib/libstdc++.so.6.0.29 RPi0:~ssh RPi0 bash << 'EOF' sudo mkdir -p /usr/local/lib/arm-linux-gnueabihf sudo mv libstdc++.so.6.0.29 $_ sudo ldconfig EOF
The library is installed in /usr/local/lib so it doesn't
interfere with the libraries managed by the system in /usr/lib.
Also do the same for the root filesystem on your computer, this comes in handy when debugging later:
sudo mkdir -p /var/lib/schroot/chroots/rpizero-buster-armhf/usr/local/lib/arm-linux-gnueabihfsudo cp ~/opt/x-tools/armv6-rpi-linux-gnueabihf/armv6-rpi-linux-gnueabihf/sysroot/lib/libstdc++.so.6.0.29 $_sudo schroot -c source:rpizero-buster-armhf -u root -d / ldconfig
Install and configure the IDE
Install Visual Studio Code
You can download and install VSCode from https://code.visualstudio.com/Download.
Install the extensions
You'll need the following extensions:
- “clangd” by LLVM Extensions
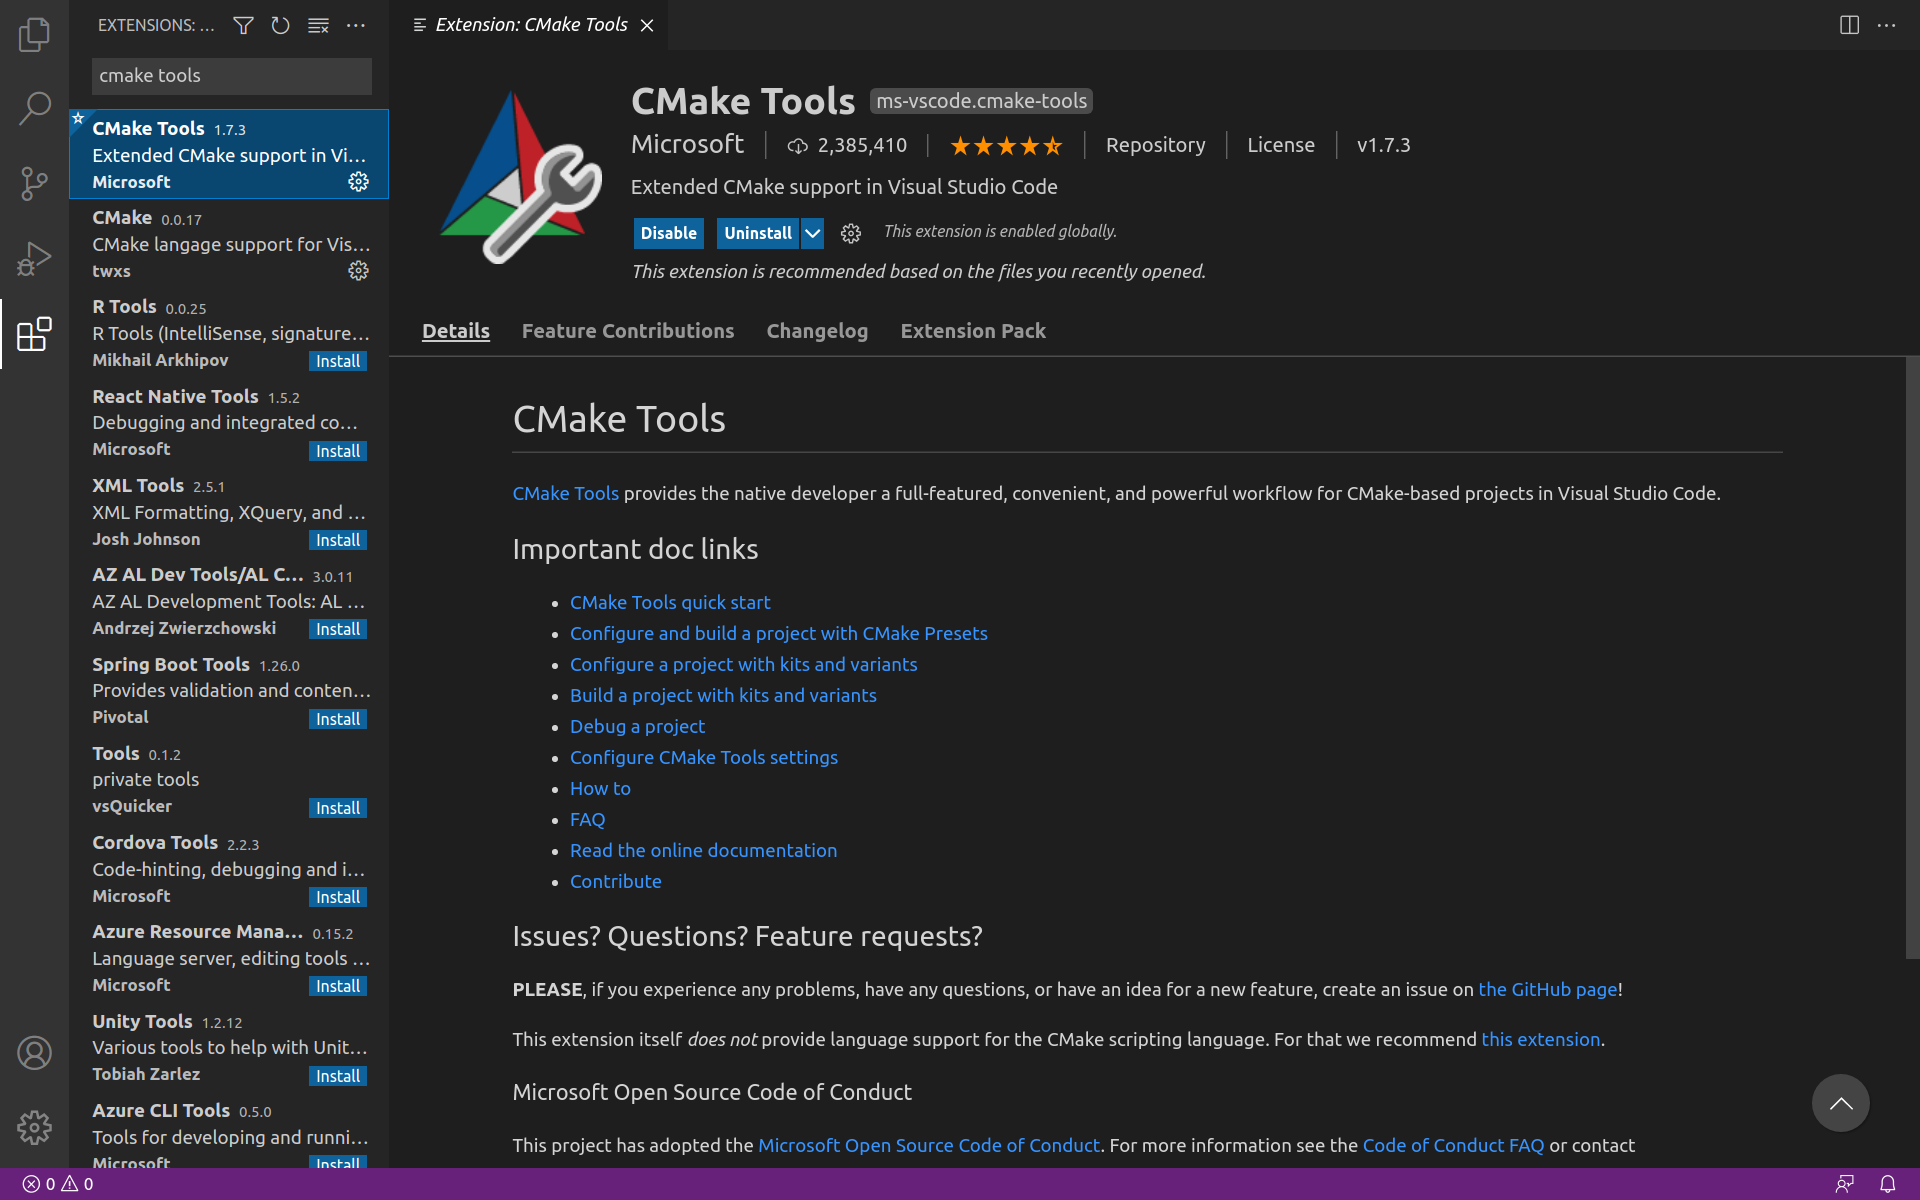
- “CMake Tools” by Microsoft
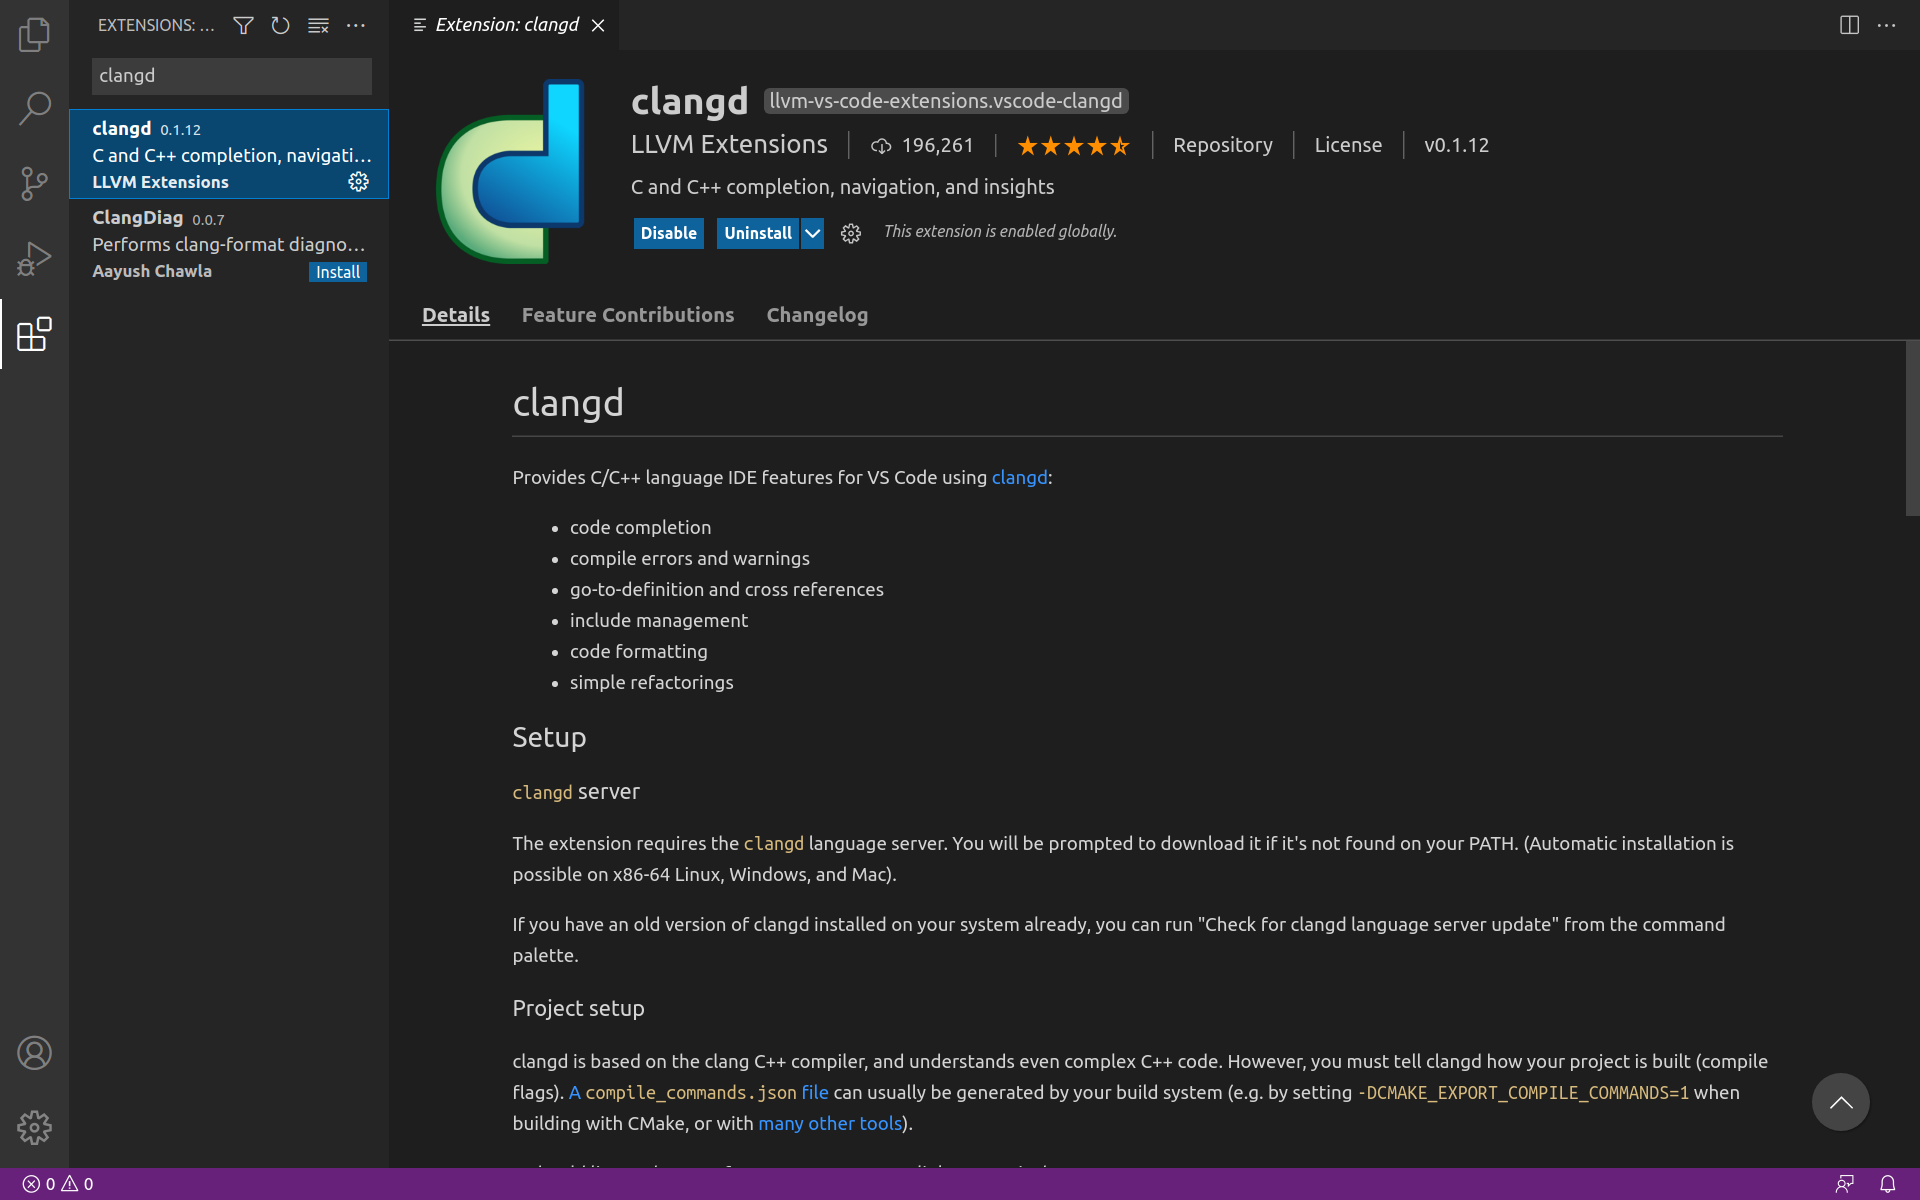
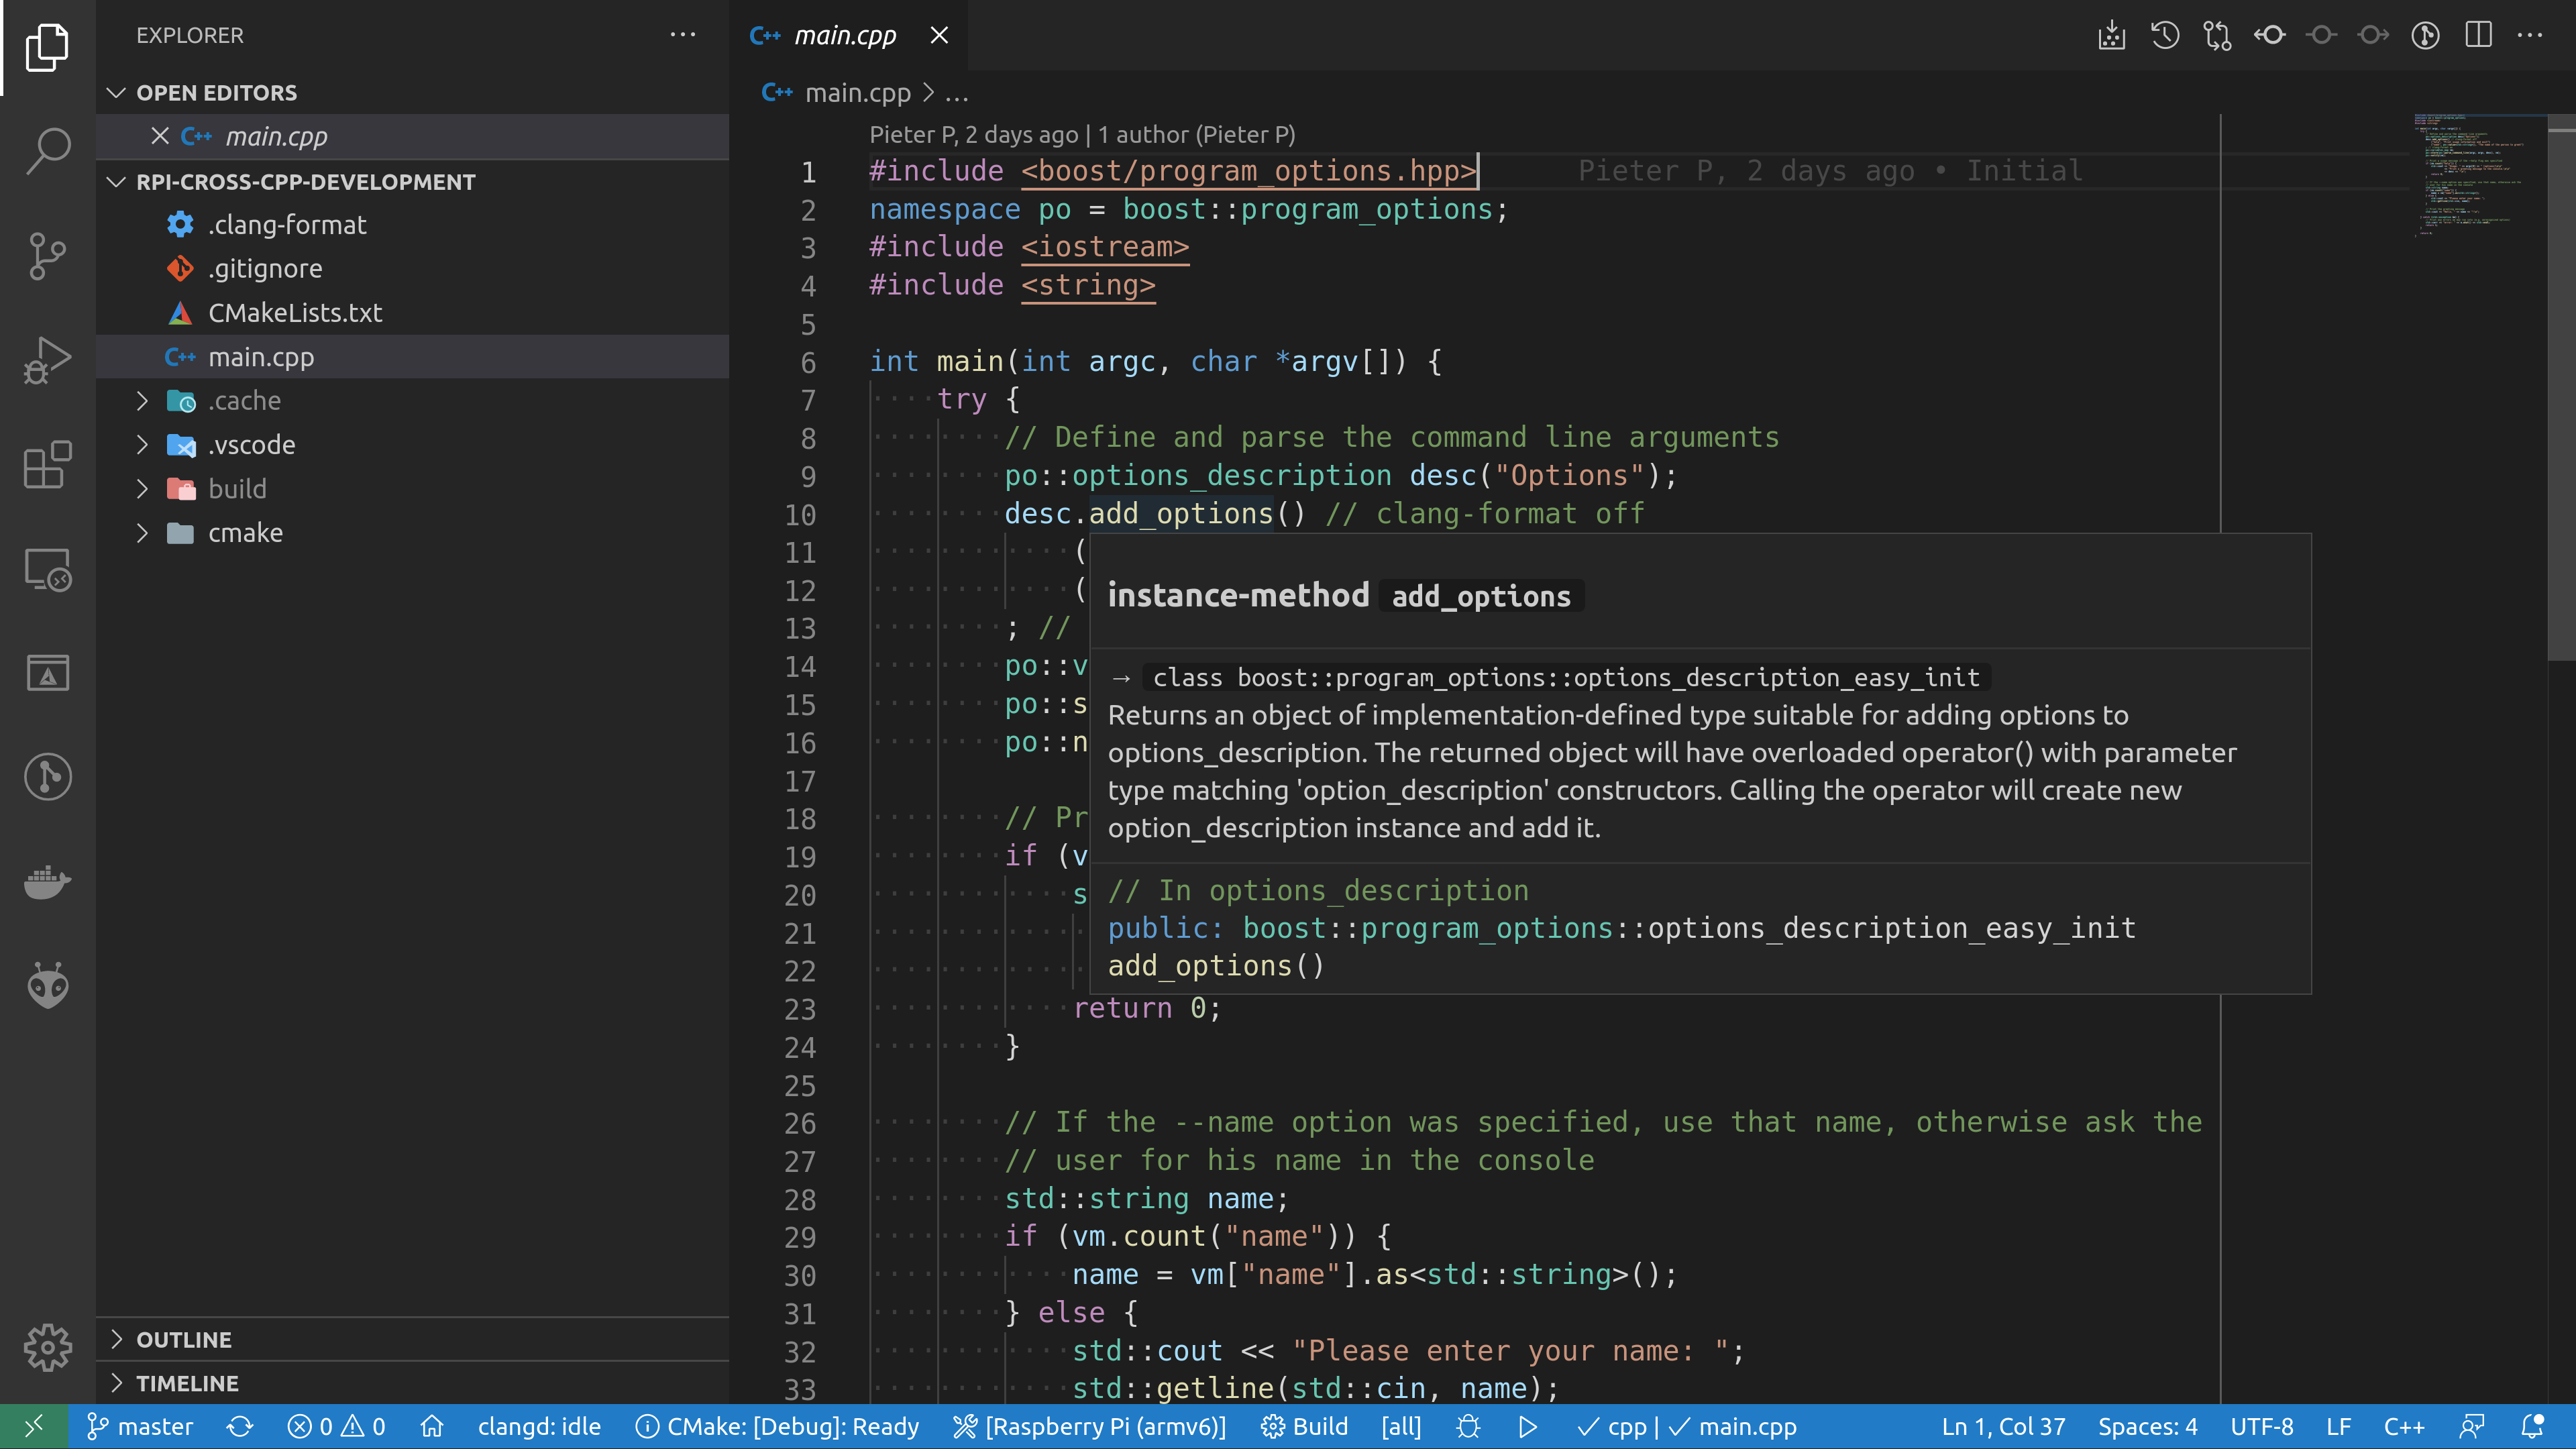
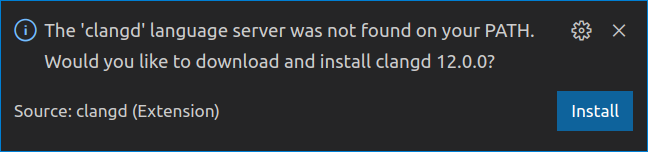
Installing clangd
If this is the first time you're using the clangd extension, you'll have to install the language server. When you open a C++ file for the first time, the extension will automatically give you a prompt:

Once the language server is installed, you get all features you'd expect from an IDE, such as semantic syntax highlighting, go-to-definition, autocomplete, documentation, refactoring options, etc.